
ArchiveXL: adding Photo Mode Poses
How to hook up custom photo mode poses with ArchiveXL
Summary
Created by @manavortex Published May 09 2023
This guide will walk you through adding poses to Cyberpunk 2077's photo mode with ArchiveXL.
Difficulty: You know how to read ;)
This guide will teach you how to hook up an existing .anims file to the photo mode. If you don't have an .anims file, you can find a dummy file in the AMM pose guide, or you can learn how to make your own.
It uses the following versions:
Cyberpunk 2077 game version 1.6.2 Hotfix
WolvenKit >= 8.9.0
TweakXL 1.1.4
ArchiveXL 1.4.5 (the first version supporting this feature)
Red4ext 1.12.0
You do not need any pose mode extender like PMU or MPAF anymore, although the ArchiveXL feature is compatible wiith all of them.
Check out this tool by @wolv, it will generate yaml files for you
Getting the files
Download either of these files:
Setting up the files
At any point during this guide, you can press the green Install button on Wolvenkit's toolbar to check the mod in Wolvenkit.
Step 1: Rename the folders
This step is optional, but if you want to release your mod, you have to complete it (or cause mod conflicts for your users. Don't cause mod conflicts for your users.)
We usually do this at the very end and I'm leaving you alone with it. However, this time we start by renaming the folders.
The screenshot below shows suggestions. Name your files and folders whatever you want, as long as they have no uppercase letters.

The .xl file
This file tells Cyberpunk to load your custom poses and will be in the same folder as the .archive file for your mod. It looks like this:
You have to adjust the paths under set and en-us to your new changed folder structure.
If you want to support more body types from the Nibbles Replacer, you can switch to the Mod Browser and enter the following search query to find all the entities:
base\characters\entities\photomode_replacer > .ent
Here's what those things do:
animations: A list of entities and animation files that you want to add to them
animations/entity: The relative path to the photomode .ent file. There are just three of them.
animations/set: The relative path to the .anims file in your Wolvenkit project.
localization/onscreens/en-us: A file with translation strings. Holds the name of your photo mode pose set.
localization.json
You can name this file whatever you want, just make sure that you change the path and name in the .xl file.
Change the yellow box
UI-Photomode-tutorial-netrunner-making-posesto something unique to your mod.The green text is the name that will show up in photo mode — the female variant is the default.

The .anim file(s)
If you have created your own animations (as a replacer or for AMM), then you are already familiar with this kind of file. If not, it is time to appropriate one from the game files - pick any, since the process is just like with a replacer.
Just as a reminder, here's how they look:

You will need the green text in your .yaml file.
Optional: If you want your pose to move, you can set the duration in the .yaml as well!
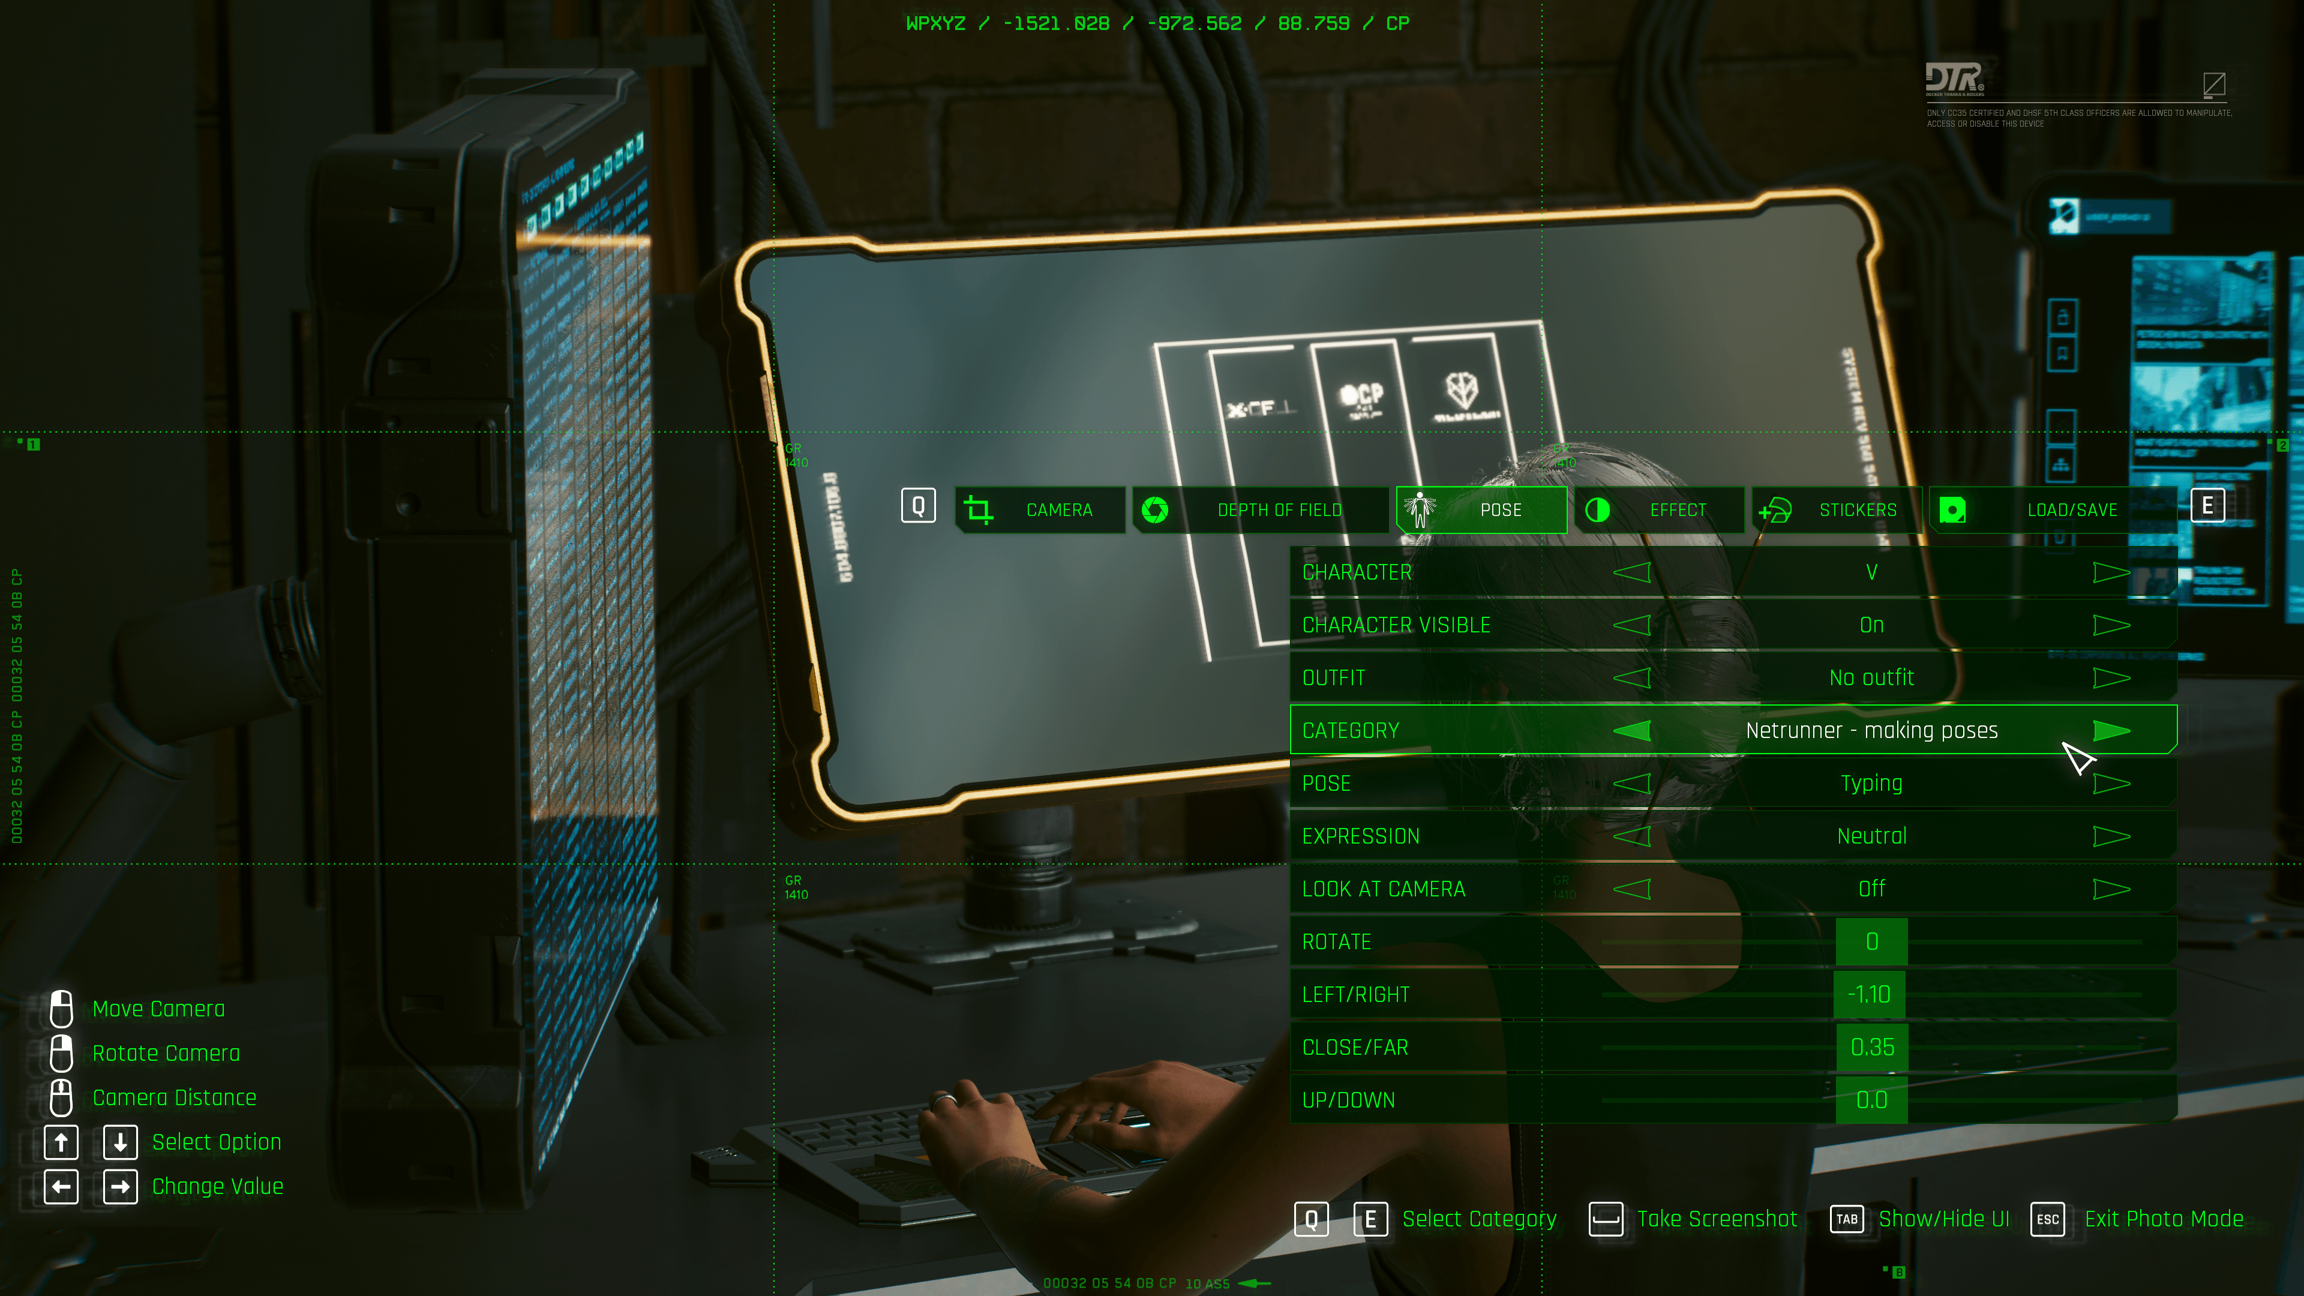
The .yaml file
This file will go into r6/tweaks/yourfolder and appends the poses that you defined to the photo mode. Without this file, the animations will be in the entity, but the photo mode won't know about them.
You can use this tool by @wolv to autogenerate your .yaml. If you do that, then you can skip this entire section and check the result.
It has three sections:
Adding the category
The first block will introduce your new category to the photo mode.
I recommend doing search and replace on netrunner_making_poses, because it's used a bunch of times.
PhotoModePoseCategories.netrunner_making_poses: This is the name of the category, used to assign individual pose entries to your category.displayName:This must match thesecondaryKeyin your .json

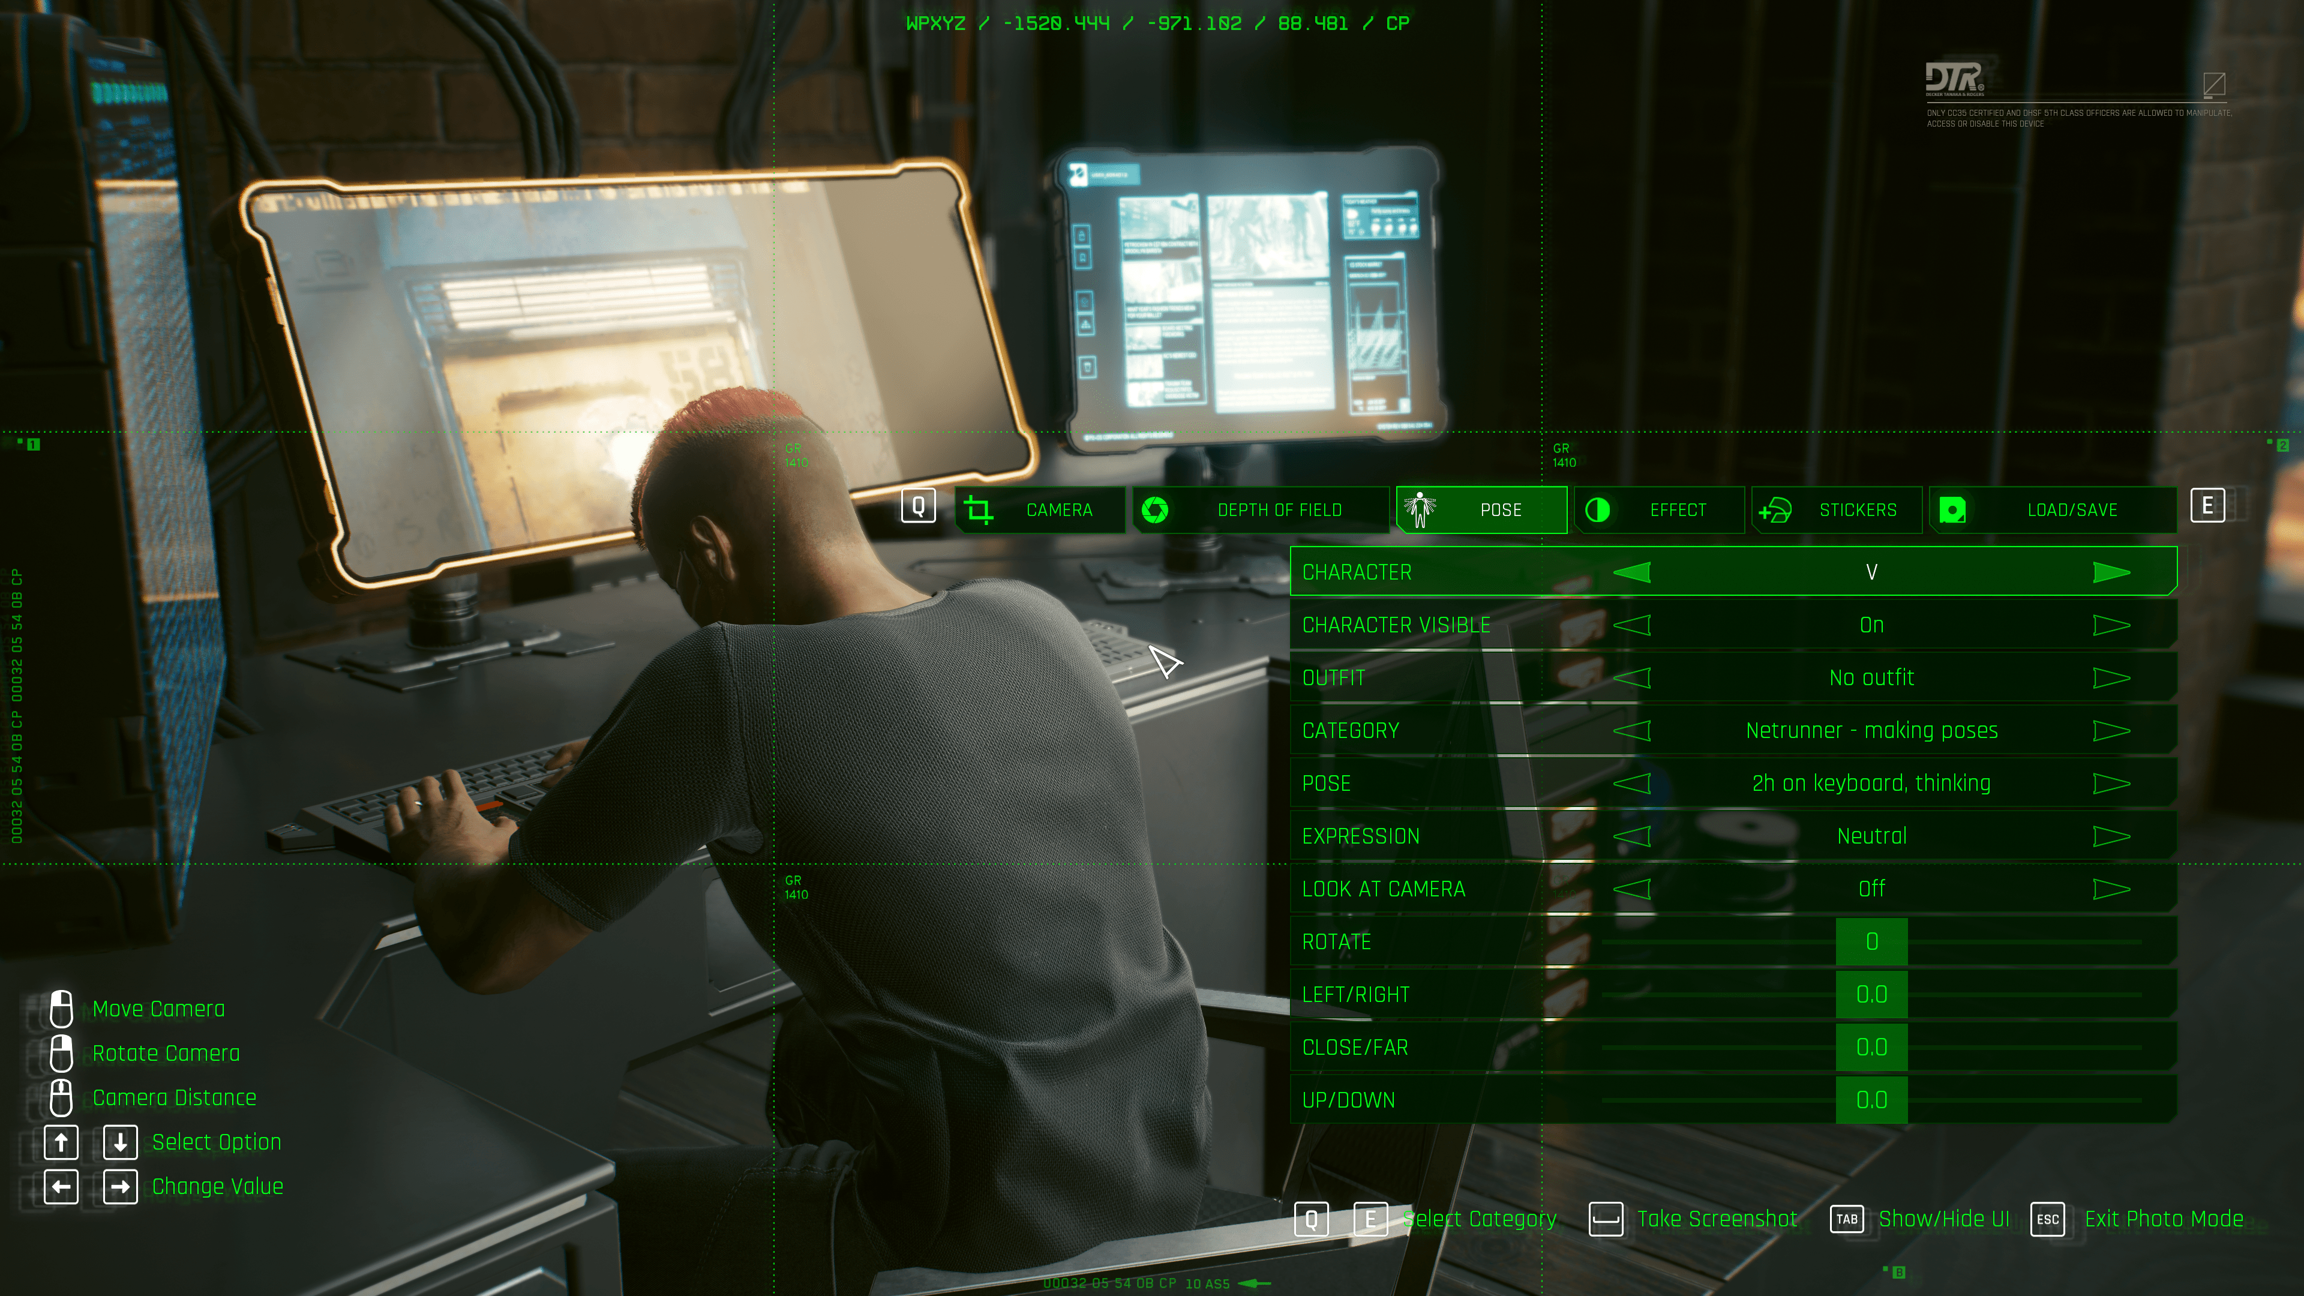
Define the pose entries
If one of your poses is called idle_stand, that will break a bunch of other mods. Please re-name it in both the .anims file and the .yaml before releasing.
Now comes a long list of entries. They'll look like this:

You need to add one of those for every pose from your .anim file that you want to show up in photo mode.
PhotoModePoses.sit_chair_table_keyboard__2h_on_keyboard__make_amm_addon: This is the unique key to assign your pose to your pose set. You'll need it in the third block.
animationName: This must match the animation name in your .anim file (the green box).
category: This must match the category in the first block.
displayName: What'll show up in photo mode
Spawning props with the pose [OPTIONAL]
It is possible to have certain props spawned automatically. However, this feature works only for Player V.
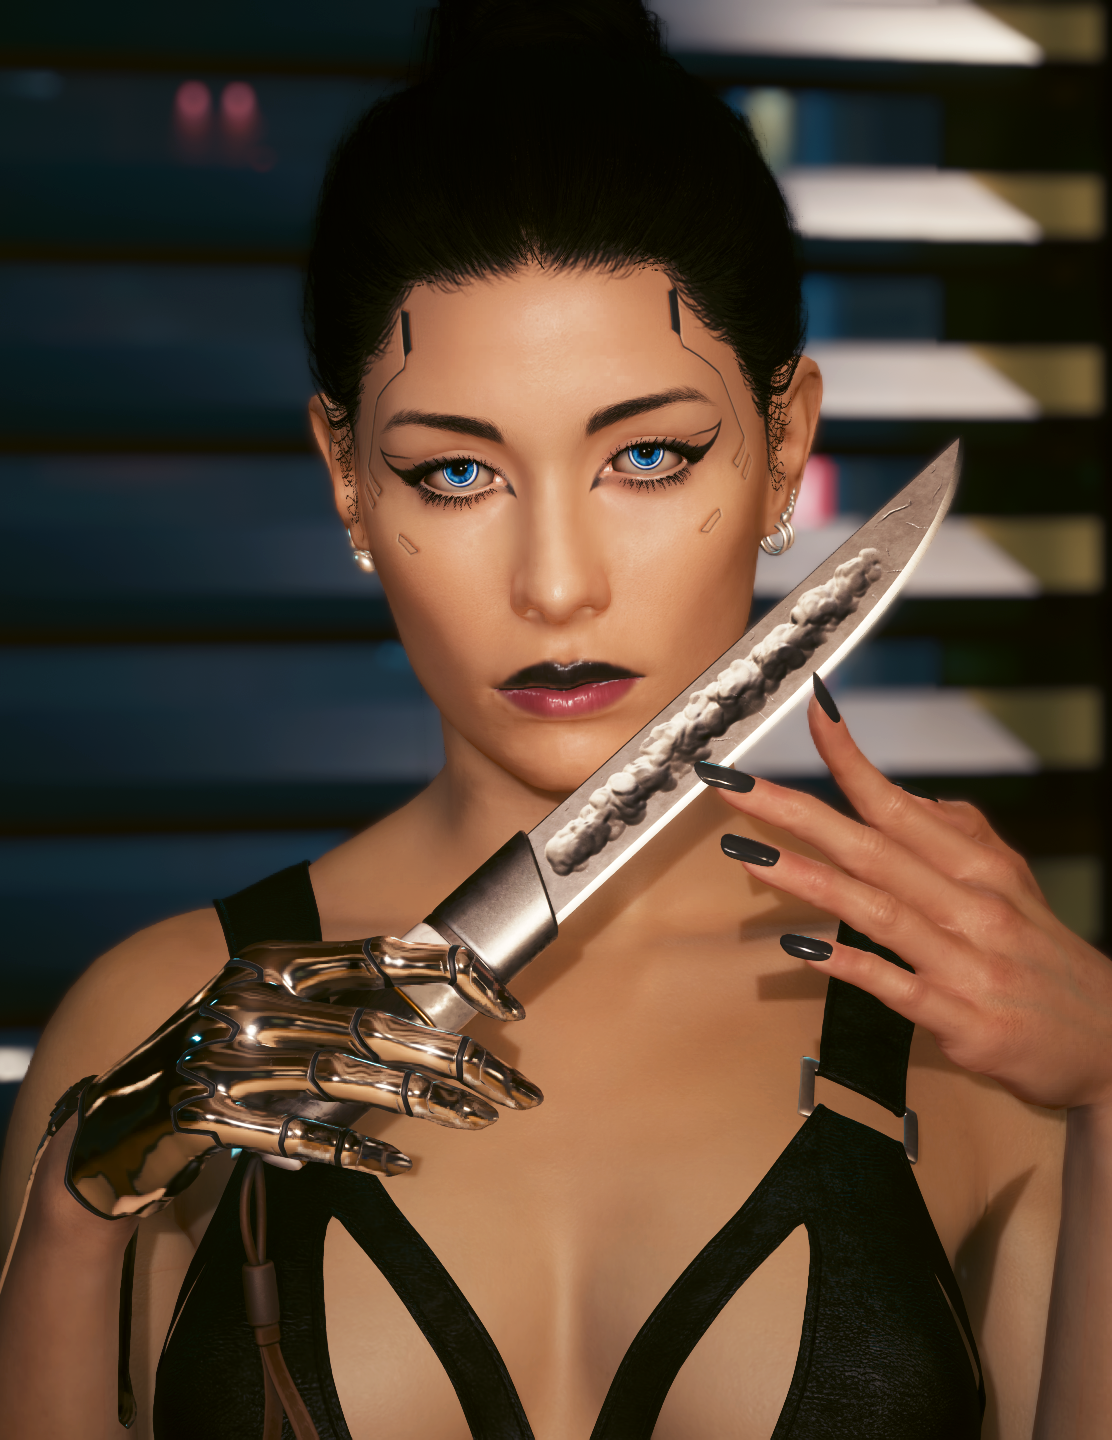
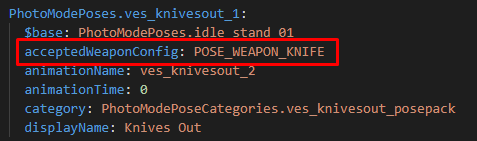
To define what type of props you want to spawn you need to edit acceptedWeaponConfig: entry . Find a list of the potential entries under Cheat Sheet Poses: AcceptedWeaponConfig
In the case of weapons, V will either spawn the default weapon from PhotoMode or use whatever weapon has in hand while entering PhotoMode. The position of the prop is defined by WeaponRight/ WeaponLeft bone.
Pose conditions [Optional]
You can limit the availability of poses by setting a poseStateConfig. For example, the following entry in your yaml will cause the pose to be unavailable unless V is swimming forwards:
Telling photo mode about the poses
You register your poses for photo mode by creating the following entry categories:
An entry looks like this:

The entries in the list must match the unique keys that you've defined in the second block, and you need one entry per pose. If you have different names for differently-gendered poses, you need to use the correct lists.
photo_mode.character.quadrupedPoses enables Nibbles photo mode replacer support for AMM >= 2.2.4
Finishing up
Before you can share your pose pack, you need to change the paths. If you don't and the next modder also doesn't, then only one of your mods will work.
You can find a full guide on changing the paths here.
If you rename files or folders under resources, remember to delete the old control files from your game directory.
The result
At any point during this guide, you can press the green Install button on Wolvenkit's toolbar to check the mod in Wolvenkit.
Last updated