> For the complete documentation index, see [llms.txt](https://wiki.redmodding.org/cyberpunk-2077-modding/llms.txt). Markdown versions of documentation pages are available by appending `.md` to page URLs; this page is available as [Markdown](https://wiki.redmodding.org/cyberpunk-2077-modding/modding-guides/world-editing/miscellaneous/editing-locations-in-blender.md).
# Editing locations in Blender
## Summary
**Created by @Simarilius**\
**Updated 19 March 2023 \~** [Simarilius](mailto:undefined)\
**Updated 7 May 2023 \~** [mana vortex](mailto:undefined)\
**Script updated 1 June 2023 \~** [Simarilius](mailto:undefined)
The original exporter was based on some posts by **@123321** in the Discord *#world-editing* channel back in May, so all credit to him for working it out in the first place.
Theres a video which outlines this process [Here](https://youtu.be/JVCbPr67mgw).
### Versions and requirements
This guide was initially written with game version 1.6 of Cyberpunk 2077.
* [**Wolvenkit**](https://github.com/WolvenKit/WolvenKit) **>= 8.8.1 or the latest** [**Nightly**](https://github.com/WolvenKit/WolvenKit-nightly-releases/releases)
* [**Blender 3.3**](https://www.blender.org/) **or newer**
* [**Cyberpunk add-on for Blender 1.2.0**](https://github.com/WolvenKit/Cyberpunk-Blender-add-on/releases)
## Exporting Streaming Sectors to Blender
To export a location, you need to know its files — you can either pick them from [our list](/cyberpunk-2077-modding/for-mod-creators-theory/references-lists-and-overviews/reference-world-sectors.md) or [go and find them](/cyberpunk-2077-modding/for-mod-creators-theory/references-lists-and-overviews/reference-world-sectors/places.md) (and add them to the list, please).
1. Add all sector files that you want to edit to your project by [finding them in the asset browser](https://wiki.redmodding.org/wolvenkit/wolvenkit-app/usage/wolvenkit-search-finding-files) and double-clicking them.
2. Open the [script manager](https://wiki.redmodding.org/wolvenkit/wolvenkit-app/tools/script-manager)
3. Open `Export_Sector.wscript` by double-clicking on the file name
* You may get a pop-up: "Trying to open a system file. Should a local copy be created?"\
If so, click **Yes**.
4. **Optional**: Check [#what-else-the-script-can-do-for-you](#what-else-the-script-can-do-for-you "mention") below if you want to get fancy.
5. Click "Run" (it's on the top left of the script editor)
This will export **all your .streamingsector files** to glb/json for the later import into Blender.
{% hint style="success" %}
Depending on your computer and the number of sectors, **this script takes time**. Wolvenkit will be mostly unresponsive while it's exporting.
Don't worry, it's normal.
{% endhint %}
{% hint style="info" %}
You might see a bunch of error messages about files that couldn't be found in the Wolvenkit log. Those usually only affect materials, your mesh should still show up in Blender.
{% endhint %}
What else the script can do for you
If you add entries to the sectors block in line 14, the script will export **only those sectors**, rather than all the files in your project. You can use this to add files to your project, or to filter existing entries.
```javascript
// You can add sectors to the list, or add them to the project
// list of sector files (paths need double slashes) you can leave empty if in project
// can use just filenames if their in the _compiled\default folder
const sectors=[
"interior_-48-31_2_0",
"interior_-24-16_1_1",
]
```
## Importing to Blender
{% hint style="info" %}
The script will find and import **all** streamingsector .json files under your project's `raw` directory. Make sure to **delete** those that you don't want, or change their extension from `.streamingsector.json` to `.bkp.`
{% endhint %}
{% hint style="warning" %}
Depending on your hardware, the script can take a long time – from minutes to hours. During this time, Blender will be unresponsive. If you can't cope with that, check Step 2 in the list below.
{% endhint %}
1. Import your streamingsector with the Cyberpunk Blender IO Suite. For full instructions, check the [corresponding wiki page](/cyberpunk-2077-modding/for-mod-creators-theory/modding-tools/wolvenkit-blender-io-suite/wkit-blender-plugin-import-export.md#importing-into-blender-2) - the documentation below might be outdated.
1. Open Blender
2. **Optional**: Turn on the Blender console so you can watch the pot boil (unnecessary, but psychologically reassuring). It's under Window -> Toggle System Console
3. Select `File` -> `Import` -> `Cyberpunk Streaming Sector`
4. Open the `.cdmodproj` file in the root of your Wolvenkit project directory
5. **Optional:** Check the "With Materials" box in the side panel\
**This will make the process take four times longer!**
6. Wait (see the orange warning box below)
2. **Optional:** As the meshes will be scaled and positioned according to the map coordinates, they're probably off-screen. You can center the camera by completing the following steps:
1. One or more meshes should still be selected. If not, do that now.
2. Move the cursor to your selection (Hotkey: `SHIFT+S`)
3. Select View → Align View → Center View to Cursor
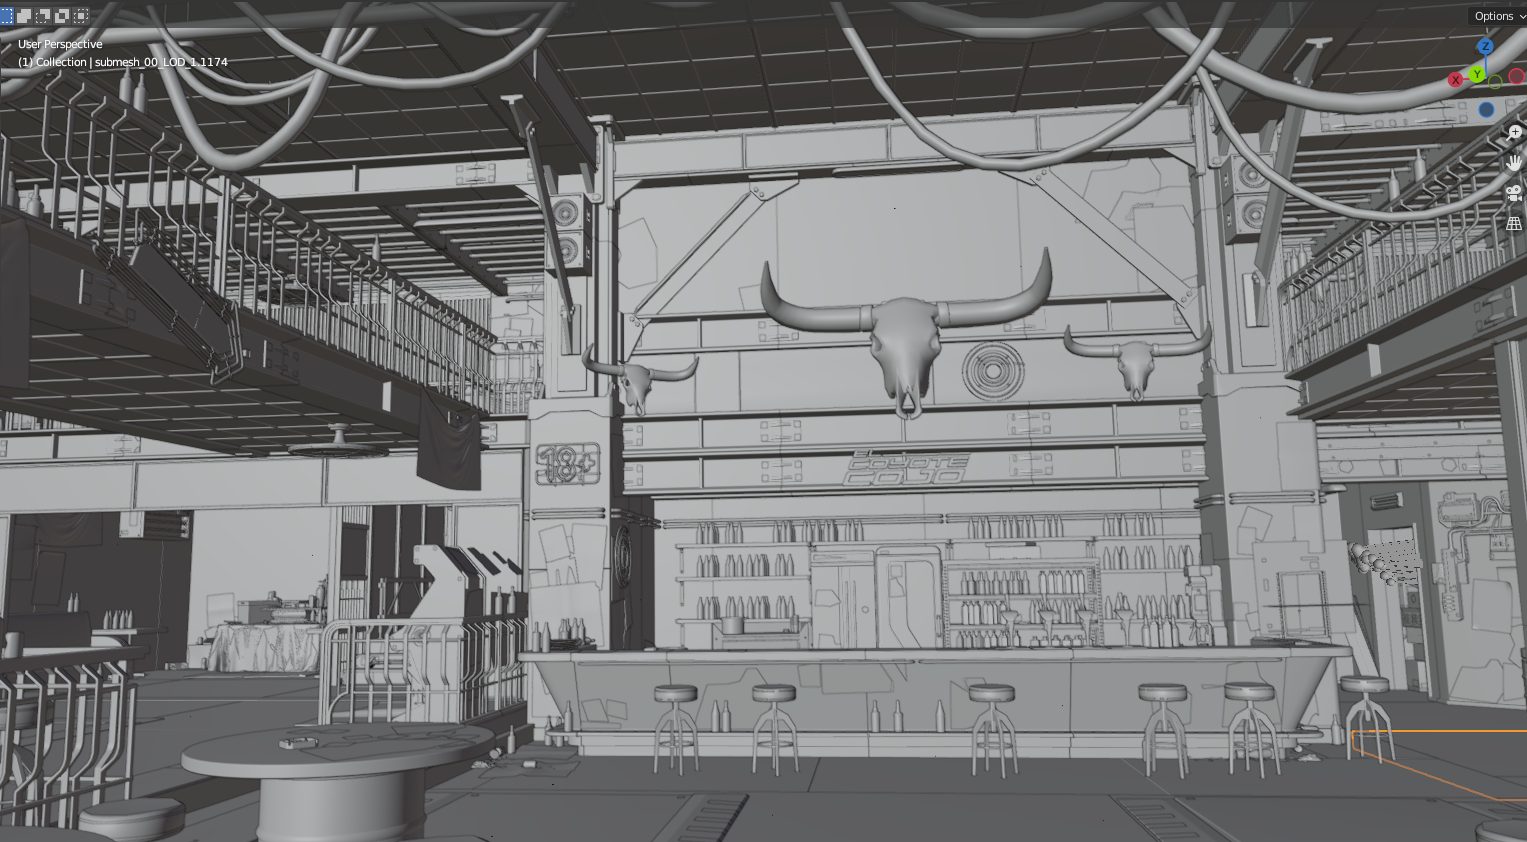
Export of El Coyote Cojo
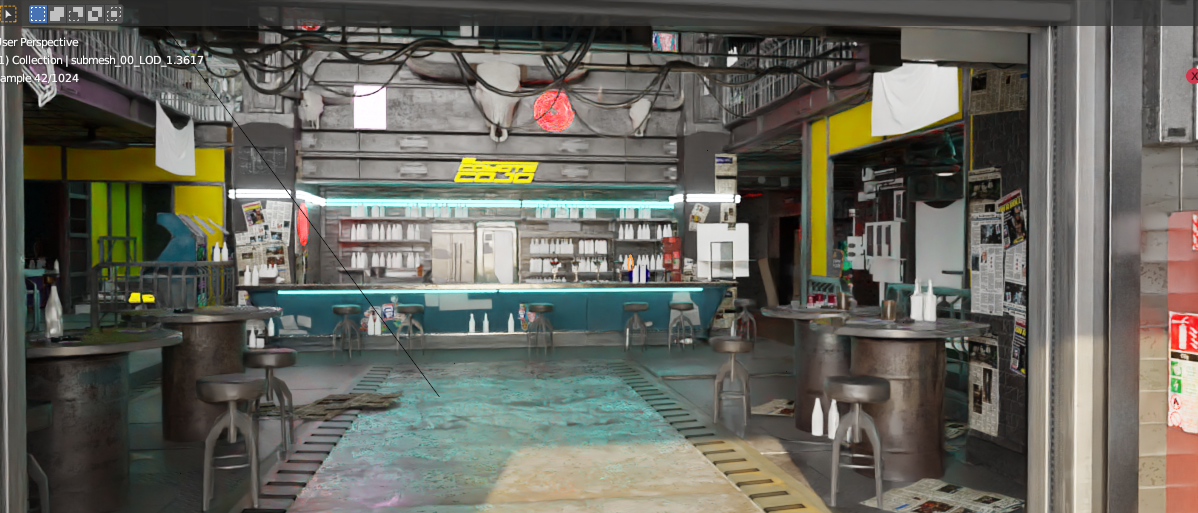
Export of El Coyote Cojo, generated materials!
## Importing back into Cyberpunk
{% hint style="danger" %}
With ArchiveXL >= 1.8.0, this process is **outdated**. Check the other guides in this section for how to generate .xl files to add, edit or [delete ](/cyberpunk-2077-modding/modding-guides/world-editing/removing-objects/world-editing-deleting-objects.md)objects in sectors.
{% endhint %}
I get it, show me the docs
* Download this script ([raw link](https://raw.githubusercontent.com/Simarilius-uk/CP2077_BlenderScripts/main/export_to_JSONs.py)) from [Sim's github](https://github.com/Simarilius-uk/CP2077_BlenderScripts/blob/main/export_to_JSONs.py)
* Switch to Blender's scripting perspective and paste the code there
* Adjust line 30 and change the path assigned to 'project' to the path of your cyberpunk project. Make sure to double the backslashes.\
Example:\
before: `project = 'F:\\CPmod\\meshdecal_parralax'`\
after: `project = 'D:\\Cyberpunk_Modding\\world_editing\\myproject'`
* In your Wolvenkit project's root folder, create the folder `output`
* Run the script by clicking the ▷ button\
\&#xNAN;*If the script throws errors and you can't resolve them on your own or with the help of ChatGPT, find us on* [*Discord*](https://discord.gg/redmodding)*!*
* Via Windows Explorer, copy the json file from the `output` directory in your Wolvenkit project over the file with the same name in the `raw` directory.
* In Wolvenkit, right-click on the file you just copied and select "Import from json"
* You're done!
---
# Agent Instructions
This documentation is published with GitBook. GitBook is the documentation platform designed so that both humans and AI agents can read, navigate, and reason over technical content effectively. Learn more at gitbook.com.
## Querying This Documentation
If you need additional information that is not directly available in this page, you can query the documentation dynamically by asking a question.
Perform an HTTP GET request on the current page URL with the `ask` query parameter, and the optional `goal` query parameter:
```
GET https://wiki.redmodding.org/cyberpunk-2077-modding/modding-guides/world-editing/miscellaneous/editing-locations-in-blender.md?ask=&goal=
```
`ask` is the immediate question: it should be specific, self-contained, and written in natural language.
`goal` is optional and describes the broader end goal you are ultimately trying to accomplish on behalf of the user. GitBook uses it to tailor the answer towards what is most useful for that goal.
The response will contain a direct answer to the question and relevant excerpts and sources from the documentation.
Use this mechanism when the answer is not explicitly present in the current page, you need clarification or additional context, or you want to retrieve related documentation sections.