
AMM: Textured items and Cyberpunk Materials using Custom Props
Importing textured items (and creating an AMM prop set in the process)
Summary
Published: February 11 2023 by mana vortex Last documented update: Mar 18 2024 by mana vortex
This guide will walk you through importing 3d objects into Cyberpunk 2077, which can then be spawned via Appearance Menu Mod.
Level of difficulty: You know how to read.
Wait, this is not what I want!
Check Porting 3d objects to Cyberpunk for an import guide, but don't forget to come back here once you're done!
You can learn more about materials under Textures, Materials and Shaders.
If you want to understand material assignment, check https://github.com/CDPR-Modding-Documentation/Cyberpunk-Modding-Docs/blob/main/for-mod-creators-theory/files-and-what-they-do/file-formats/3d-objects-.mesh-files-> https://github.com/CDPR-Modding-Documentation/Cyberpunk-Modding-Docs/blob/main/for-mod-creators-theory/files-and-what-they-do/file-formats/3d-objects-.mesh-files#material-assignment
If you only want to know how to apply Cyberpunk materials to parts of your mesh, check "Splitting off submeshes" below.
For a guide about changing materials, check Changing materials, colors and textures
If you just want to use a textured material, check Using a textured material
If you want to dig deeper into Multilayered: Cyberpunk's supershader, check our guide for Textures: Custom .mlmask
Find a look-up list of cool materials under Cheat sheet: Materials
For a more detailed guide about prop creation, check AMM: Custom Props
Or maybe you wonder Where to find models
Requirements
Appearance Menu Mod (> 2.0.2)
Setting up the project
This section is already covered in the guide for custom props, using the source folder variant, or directly download this archive and extract it into your Wolvenkit project.
Optional: Complete the creating another prop section from the custom props guide, or alter one of the two existing template items.
This guide will assume that you are editing template_no_variants.mesh, as our focus is on mesh import and material assignment. You can delete the folder amm_props\template, since we won't need it.
Delete obsolete files (Windows Explorer or WKit):
amm_props\templateamm_props\template_no_variants\template_no_variants_multilayered.meshtextures\6_layers.mlmasktextures\6_layers.mlsetup
Importing a mesh
Step 1: Exporting
The first step to importing a mesh is exporting a mesh
Rache Bartmoss, ca. 2024
We can't create .mesh files from scratch, so we'll overwrite an existing file. Here's how:
In Wolvenkit, open the Export Tool (Tools -> Export), and export everything in your folder: the mesh(es) you want to use and the textures.
This will create the following files under the project's raw section:

Step 3: Importing
Optional: Download this archive - I have prepared it for import. It contains both the original glb from sketchfab and the version I prepared for import:

Use the Windows Explorer to copy these .glb files and textures into the same folder as the ones you exported in the previous step.
Replace the files from your export with the files from your download. The names need to be exactly the same.
Use baseball_02_d.png, as the other one doesn't have transparency.
The import/export process has its own guide. There's also a troubleshooting page if you're stuck.
Now that all files are in place, open the Import Tool in Wolvenkit (Tools -> Import), and re-import the files. The Wolvenkit preview should show your new imported mesh.
optional: You can now install the mod and spawn the prop.
The next step is to assign materials to the object.
Wait, where did Step 2 go?
Good! You've been paying attention! Step 2 is to prepare the downloaded 3d asset to work with Cyberpunk. Depending on your target file, this can be any level of difficult, but the steps below should be enough for most meshes.
Step 2: Processing the downloaded mesh
All of these steps will be taking place in Blender.
If this is your first time and you're lost, check out Blender: Getting Started
The files you download will have all sorts of structures. In the end, you want to end up with a flat hierarchy of object(s):
LOD_1 indicates the level of detail. You only care for LOD_1.
The submesh numbers are important for material assignment in Wolvenkit.
The easiest way to get there is by running this python script (source: manavortex's github) in Blender after import: - Switch to the "Scripting" perspective - Create a new file - Paste the contents of the script into the file - Hit the "play" button
A mesh that I imported with 9 simultaneously visible submeshes made the game crash with a likelihood of ~ 80% when I spawned or de-spawned it (scaling was fine). You might want to create two separate files if you have too many objects.
Since it clearly works for e.g. the body mesh with ten submeshes, make of this what you will.
Submesh by material
Sketchfab meshes often use dozens of submeshes, but we want to split by cyberpunk's logic:
Every submesh can have its own material assigned in the mesh, and can be hidden or displayed via chunkmask. This is how you assign Cyberpunk materials to parts of your imported asset.
I've always found it easiest to join all meshes into a single one:
In Object Mode, select all meshes but one (Hotkey:
A, thenCtrl+click a mesh to deselect it)Select the last mesh (hold
ShiftorCtrl)Press
Ctrl+Jto merge everything into that last meshSwitch to Edit Mode
Select everything (Shortcut:
A)Separate (Shortcut:
P) and select "By Material"
Optional, but recommended: run the script again to get properly numbered submeshes.
This will let us assign one material per "section" of your mesh.
Especially when exporting meshes from sketchfab, there are often duplicate materials. Feel free to fuse everything that you want to e.g. slap black plastic on.
Splitting off submeshes (mildly advanced)
I usually join everything into one object that'll have the same material in the game, unless I want to hide parts of it to make variants.
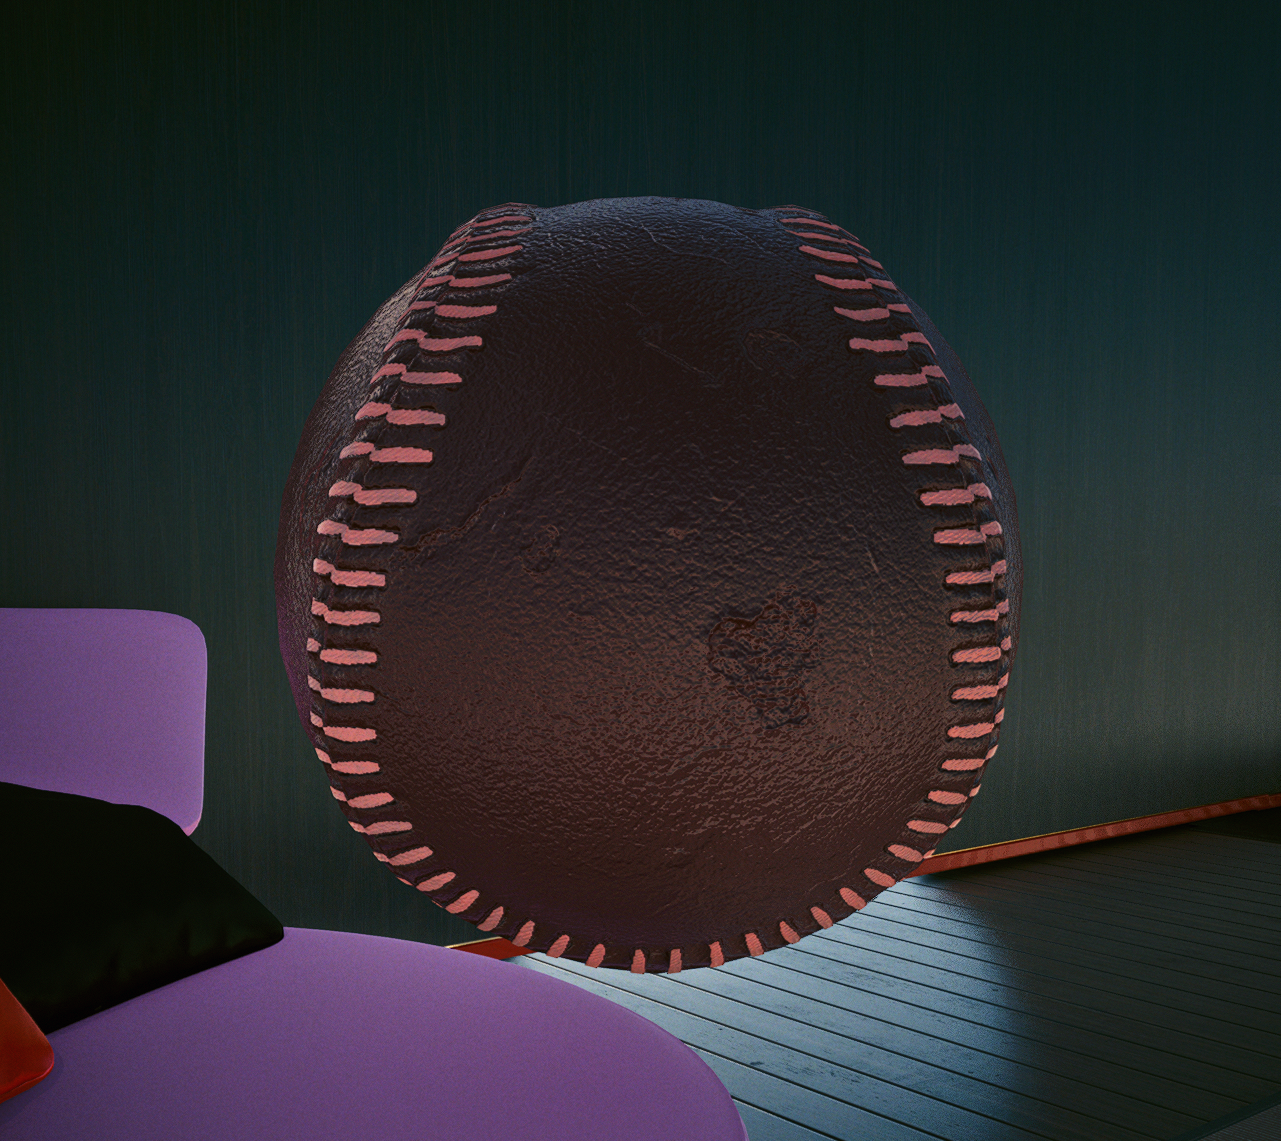
But the opposite is also possible: You can split off parts from the original object, putting them into their own submeshes. I have done this in the baseball example: the seams will get a texture, and the rest of the mesh will be coloured with a cyberpunk material.
You do that by changing into the edit mode, then selecting everything that you want to split off ("Select Linked" or "Select More" is your friend here), and splitting it (P -> Split Selection).
You can duplicate your selection first (Shift+D, ESC)
Now, switch back to Object mode and select your new mesh before going back to Edit Mode. Make sure to scale your new mesh, so that it is slightly above the surface of the old one - otherwise, you will have two things in the same place, which will look like shit.
Make sure to correctly name your new submesh, or run the script again.
Unparent
You can complete unparent + apply transformations via Blender script: Switch to the Blender "Scripting" perspective, create a new file, paste the code from mana's github, and click the play button.
Select everything (click the viewport and press A), then unparent the objects by pressing Alt+P. Select "Clear and Keep Transformation".
Applying transformations
Since those are saved relatively and Wolvenkit will ignore them, your objects might end up larger or smaler than you expect them, or be in different places.
Select your objects in the viewport, then press Ctrl+A and choose "All Transforms".
Scale it
Scale your 3d object in Blender until it has the size you expect it to be in-game.
If you do this in the object mode, you need to apply transformations afterwards. Alternatively, you can scale the vertices in edit mode.
If your mesh still scales weirdly in Wolvenkit / the game, you can create a new mesh in Blender, delete its vertices in edit mode, and then join your original object on top of it.
If you need a reference object, you can use this lightsaber from my props.
Origin
Keep in mind that your prop will rotate around the world origin, and position it accordingly.

Once you are done, import the glb file over your original mesh (you can consult the troubleshooting section below).
Your import has been successful when the preview in Wolvenkit changes (you might have to select another file first).
Material assignments
For an overview of materials that you might want to use for something, check here.
You can check a material's properties by opening the file inside of Wolvenkit and checking the last entry of the "parameters" array, or search for "files using this" and looking at how they're doing things.
Setting up our materials
You can find explanation and documentation about materials here.
Add a new material entry
Select the entry "texture" inside the array
materialEntriesDuplicate it
Select the new entry
Change the name to
mlsetupChange the index to
1
Assign the submesh
Open the array appearances, select the first appearance (default) and select the array chunkMaterials. Create a new entry, or duplicate the existing one. Make sure the list order shows
Transfer the material
Open
baseball_textured.meshFind the CMaterialInstance "texture" inside
localMaterialBuffer.materials.Select it, then copy it via right-click (Copy (Selection) from Array/Buffer)
Switch to
baseball_tml.meshSelect
localMaterialBuffer.materialsPaste the textured material (Right click, Paste (Selection in) to Array/Buffer)
You can now delete the second mesh, as you don't need it anymore.
Change the material parameters
Let's update paths and values. Still inside of localMaterialBuffer.materials, change the following properties:
textured
Normal
your_name\your_prop_pack\baseball\baseball_n01.xbm
BaseColor
your_name\your_prop_pack\baseball\baseball_d01.xbm
mlsetup
GlobalNormal
your_name\your_prop_pack\baseball\baseball_n01.xbm
MultilayerMask
delete it
MultilayerSetup
base\characters\garment\gang_nomad\legs\l1_021_pants__cargo_computer\textures\leather_red_basic.mlsetup
For the leather texture, I've just picked a random mlsetup from the game files (which I found by searching Wolvenkit for leather > .mlsetup). If you want to make your own mlsetups, see here.
Save the mesh. You can check the "Mesh Preview" tab if the materials show up. If the mesh turns invisible, you'll want to double-check your paths, though!
Let's set up our entity file
Open the baseball's entity file (
your_name\your_prop_pack\baseball\baseball.ent).Open the
componentsarray.Select the second component (
amm_prop_slot1)Change the mesh -> depotPath to the path of your baseball mesh (
your_name\your_prop_pack\baseball\baseball_ml.mesh).Leave
meshAppearanceondefault, unless your mesh has multiple appearances: This is where you select which entry in the mesh's appearance array will be used.Delete the other
amm_prop_slotcomponents. (These are where you would add more mesh files to your prop - but keeping them makes your prop be full of glowing cubes).Save the entity file.
If you have more than four mesh files assigned to your entity's components, the prop will no longer be scaleable (as of AMM 2.0.2). You can get around this limitation by making meshes with more submeshes instead of individual files.
AMM: Let's set up our lua file
Open the lua file under resources\bin\x64\plugins\cyber_engine_tweaks\mods\AppearanceMenuMod\Collabs\Custom Props\your_prop_pack.lua.
Set modder to your name and unique_identifier to anything, e.g. your_name_your_props. Now, adjust the first entry in the "props" list to point to your entity file:
The "path" parameter is the relative path to your entity file, but every backslash has to be doubled.
"name" is what you'll search for in AMM. "distanceFromGround" is pretty self-explanatory, but I prefer it if my objects are floating.
Save the lua file, install your mod, and launch the game. Time to test!
Material assignments
For an explanation how materials are assigned to a mesh, check this page - this guide will just tell you what to do.
You can copy entire materials between meshes: select one, right-click, and pick one of the "copy from…" entries.
Open template_no_variants_textured.mesh in WKit. All of the following operations will take place in that file.
Adjust your chunkMaterials
Open appearances/default/chunkMaterials. You need to have one per submesh.

For a more detailed explanation/guide, see the next section. If you don't care, you can skip straight to the next section and fix up the material entries.
Explanation:
chunkMaterials are where you assign materials by submeshes. The identifier here is the name.
Before changes, the first (and only) submesh will use the material mat_textured. Our newly imported mesh (the baseball) has two.
Add a new chunkMaterial to the array by either
right-click the existing chunkMaterial and select
duplicateselect the array
chunkMaterialsand then click the yellow (+) button int he side panel
then change the name of the first entry to mat_ingame:
You can name your materials whatever you like, as long as you stick to the following rules:
You need one chunk material per submesh
chunkMaterials needs to be in the same order as your submeshes — if you're uncertain, check the "Mesh Preview" tab
The names should be lower case without spaces and special characters. Numbers are fine!
Material entries
Find the array
materialEntriesat the root level of the mesh and open it. It will have two entries:\
Select the second entry and change its name to the one from your chunkMaterial (
mat_ingame). Numerical order does not matter here.
Explanation:
MaterialEntries are a lookup map between the material names in the chunkMaterials and the actual materials (see here for an explanation). You can have local or external materials or a mix of both; check this page for an explanation.
Now, we adjust the materials — we'll just change a few properties to show you how it works, and then you can go play.
For another guide on how to edit materials in detail, check here.
Setting up the materials
Find the array localMaterialBuffer/materials and open it. It contains two materials. Wolvenkit will display the names corresponding to the material entries so you can see which is which.
For an explanation of material parameters, see this page.
The first one, mat_textured, is the one that we will use for the seams. If you imported your textures by overwriting the original export, you shouldn't need to do anything here.
Instead, we will change the second material, mat_ingame.
Re-using an mlsetup
If you rather want to make your own mlsetups, see here.
Select
mat_ingameExpand the material and its
valuesarrayDelete the parameter
MultilayerMaskGlobalNormal: Re-use the same as your textured material (by default:
tutorial\amm_props\template\textures\template_01_n.xbm)MultilayerSetup: Set it to
base\characters\garment\gang_nomad\legs\l1_021_pants__cargo_computer\textures\leather_red_basic.mlsetup
Make it gold, baby!
Select
mat_ingameDelete all parameters from the values array
Set the baseMaterial to
base\environment\decoration\containers\cases\coffin\textures\m_z_gold.mi
The possibilities are basically endless, so go and explore them already! For a nifty list with materials to get you started, check here. For a guide on creating AMM props, see here.
Troubleshooting
This section will only cover troubleshooting steps for this guide. For general 3d model troubleshooting (including import errors), see here.
My prop doesn't spawn and AMM won't target it!
AMM can't find your .ent file. Check the paths in the lua.
My prop is invisible (but AMM targets it)!
This can be one of the following issues:
the path from .ent to .mesh is wrong
the mesh appearance in the .ent file can't be found (check spelling in both .ent and .mesh)
the mesh appearances's chunk materials can't be found (check spelling in the .mesh, both in the chunkMaterial assignments and the CMaterialInstance in
localMaterialBuffer.materials)Check your mesh's face orientation in Blender — inside-facing meshes are usually transparent.
Check your mesh's chunkmasks in the .ent file: maybe you have accidentally hidden a submesh?
If that doesn't help as well, try assigning a default game material (search for anything ending in .mt and put the path in your material's baseMaterial.DepotPath).
Try assigning a default game material by searching for
My prop is all over the place / too big / too small
Check the scaling in Blender and make sure that you have applied transformations.
I don't have a normal map texture, but my import looks shit without one
Use engine\textures\editor\normal.xbm
Some of my props are much "lighter" than others!
These ones will have a blue normal map as opposed to a yellow one. Invert the blue normal texture before importing it.
Last updated