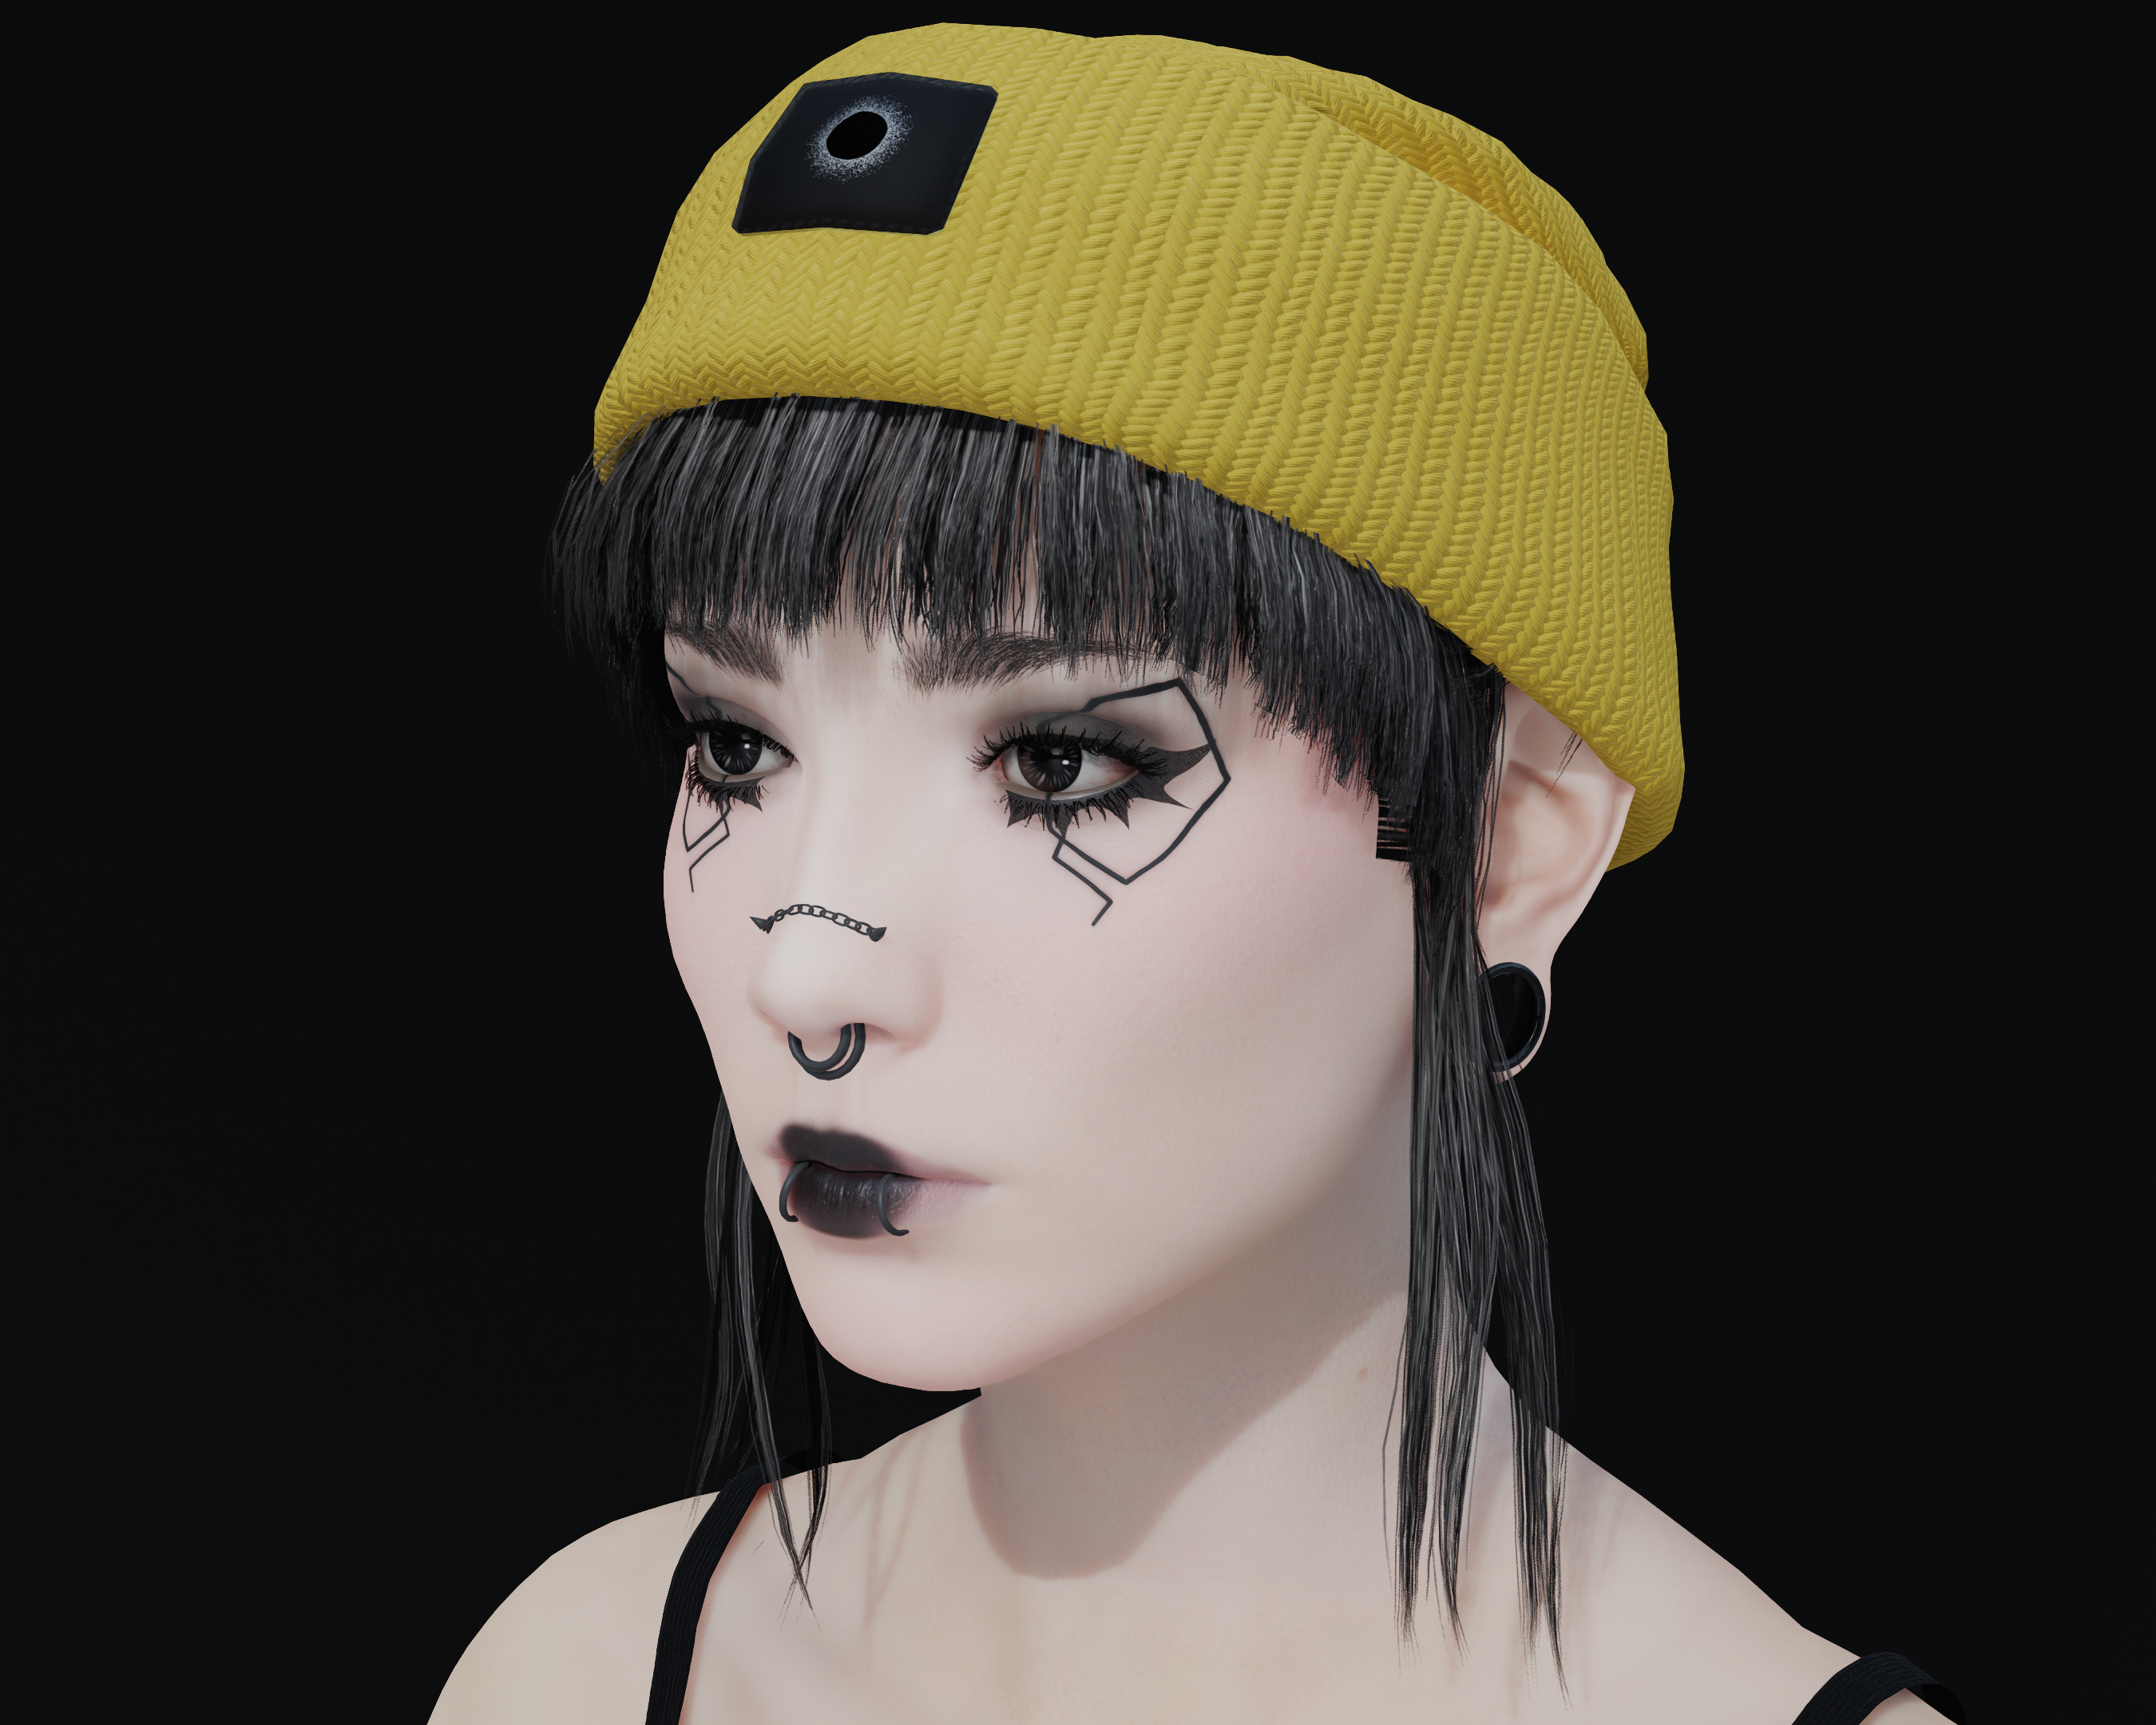
Blending materials for more gooder colours

The Problem

The selection of materials and the available colours for each material in Cyberpunk 2077 is very limited and often underwhelming. The colours the game offers by default lack saturation and are usually either too light or too dark. The way of getting around this is layering different materials of different colours at varying opacity.

The Preparation

The Tools

For this to work properly, you need two layers inside the .mlmask, each of which needs to cover the same part of your .mesh you want to change. The lower layer needs to be pure white, the other one on top of that at 50% grey (rgb(50%,50%,50%)). This way, the materials of each layer will blend into each other allowing much greater control over shade, brightness, saturation, and shininess.

If your blue denim lacks saturation, slap a second layer on top of it. Give that second layer the same material and colour and both will amplify each other.

The default .mlmask found inside your .mesh might already contain the layers described above. If not, you'll likely get away with editing the layers in Photoshop. To learn more about .mlmask files go here and to learn how to create one yourself using Blender, go here.

The Colour

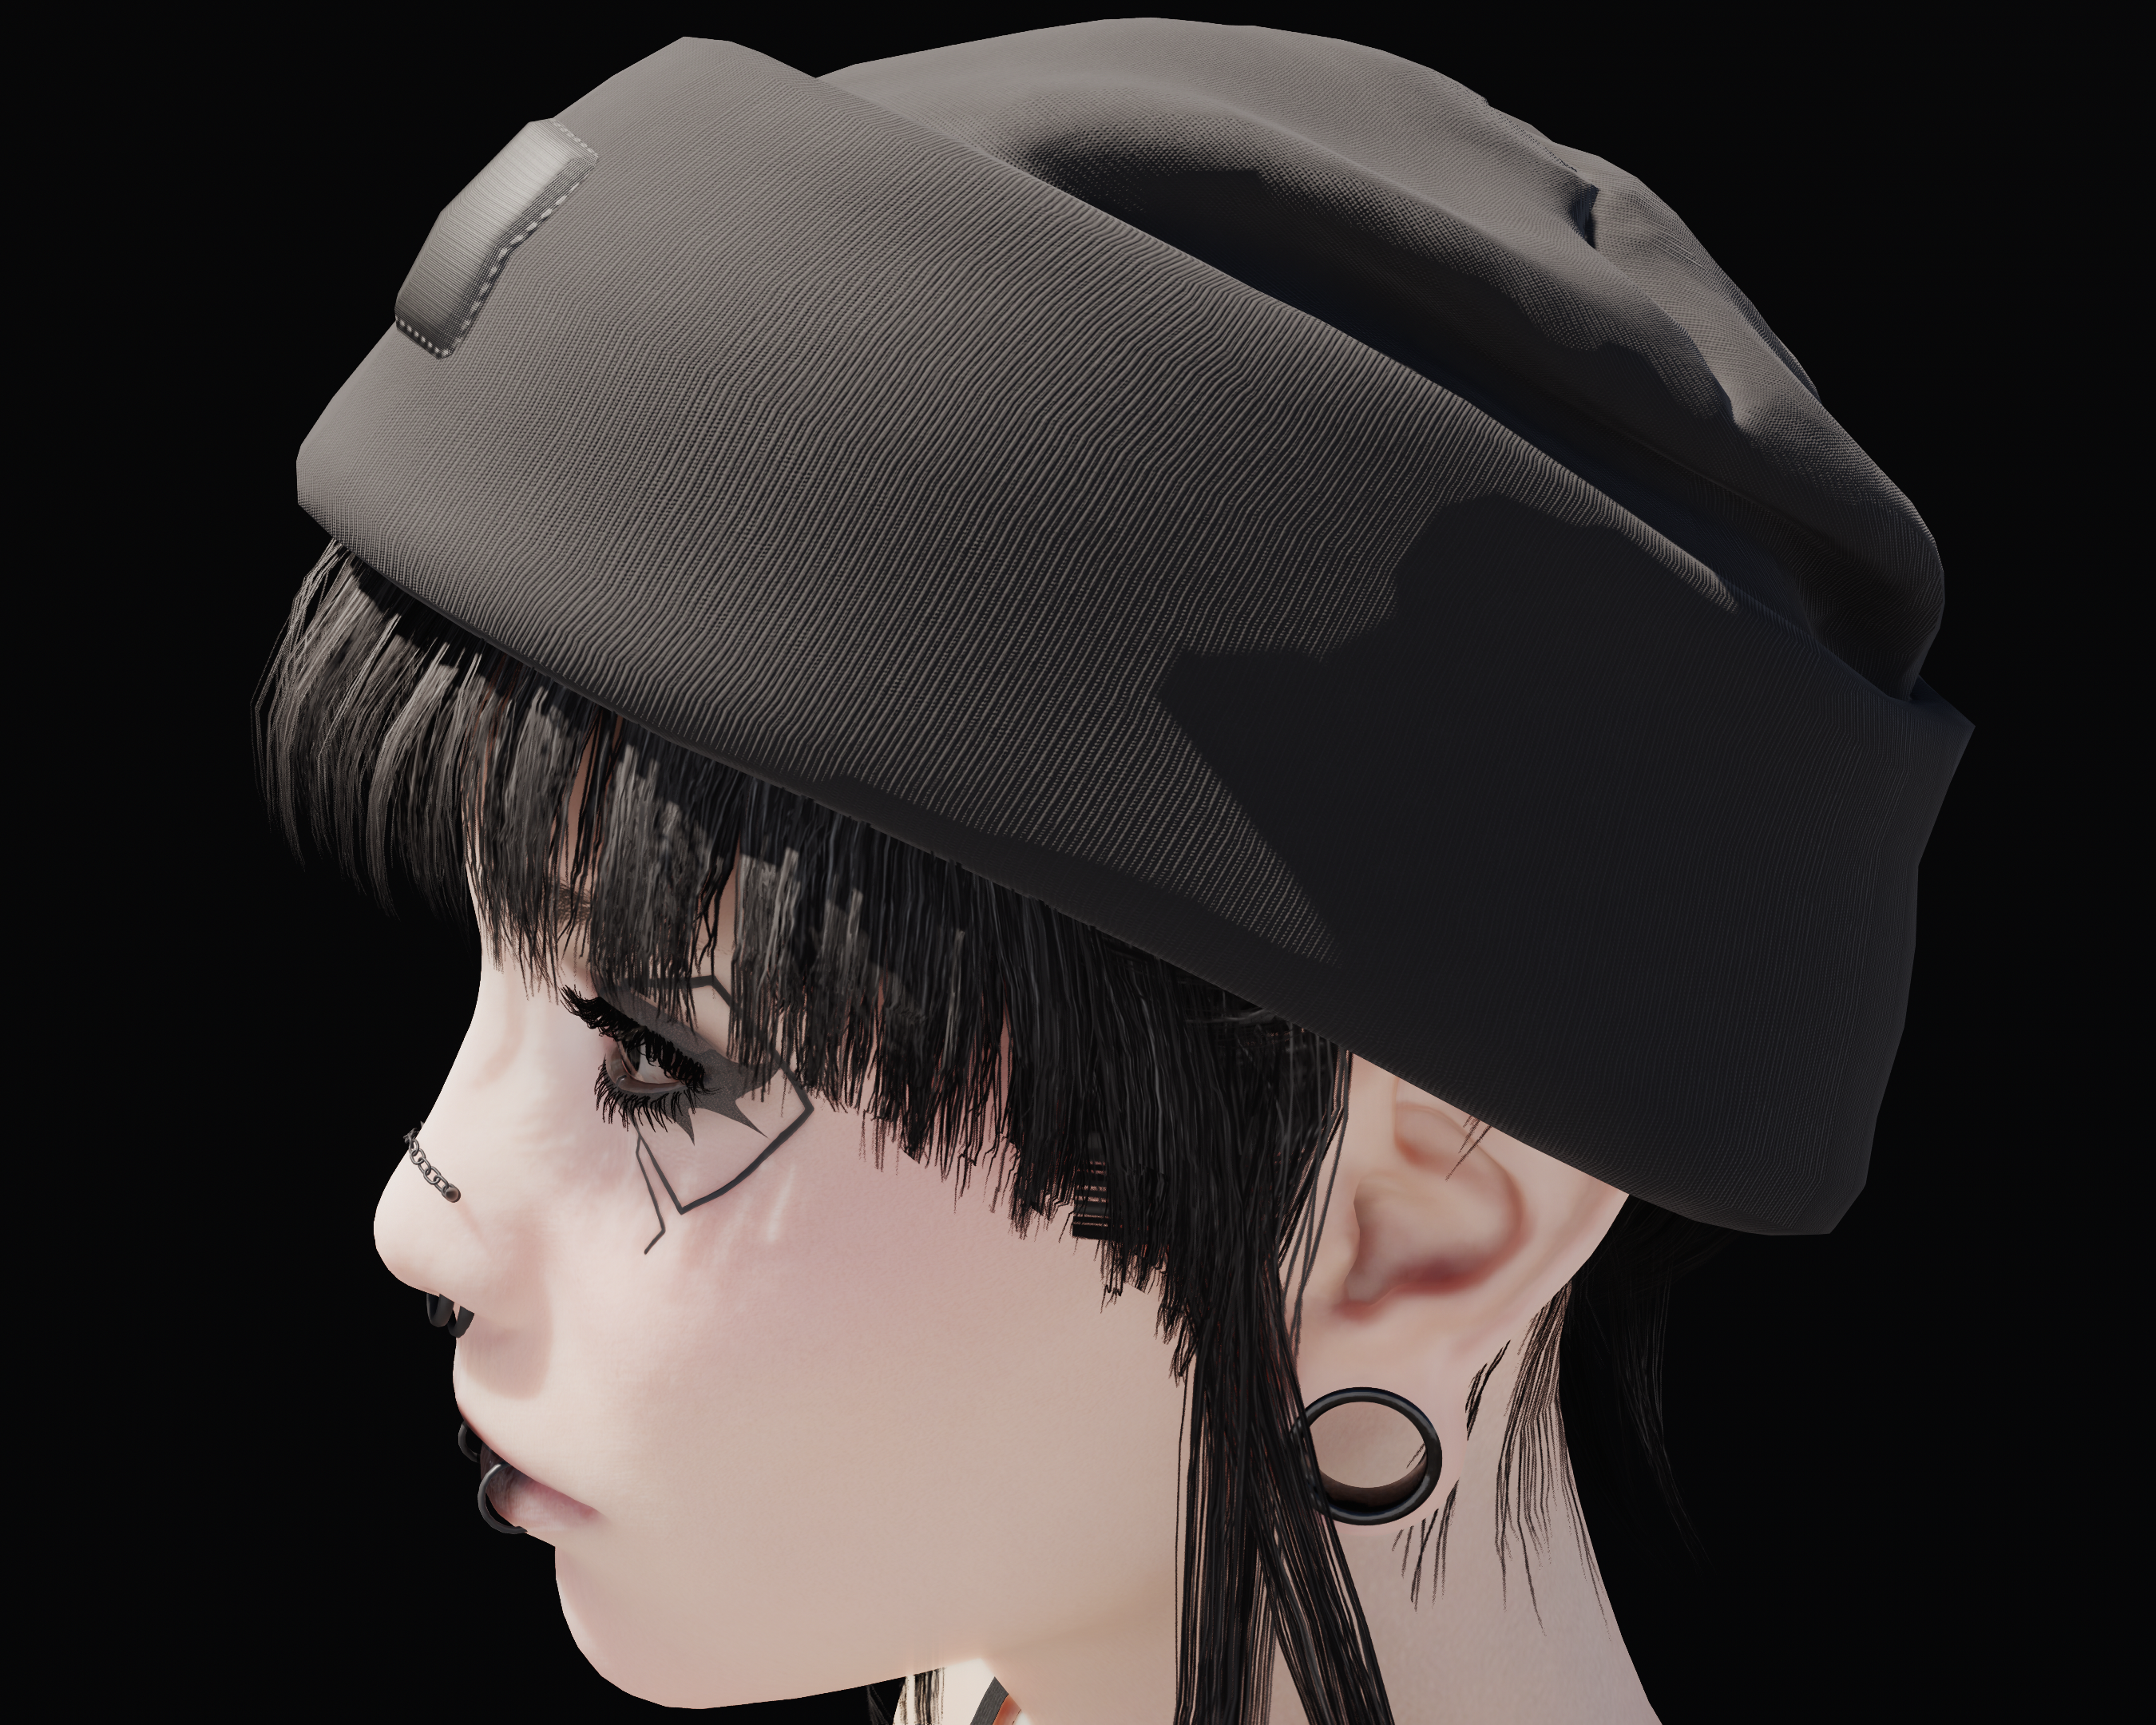
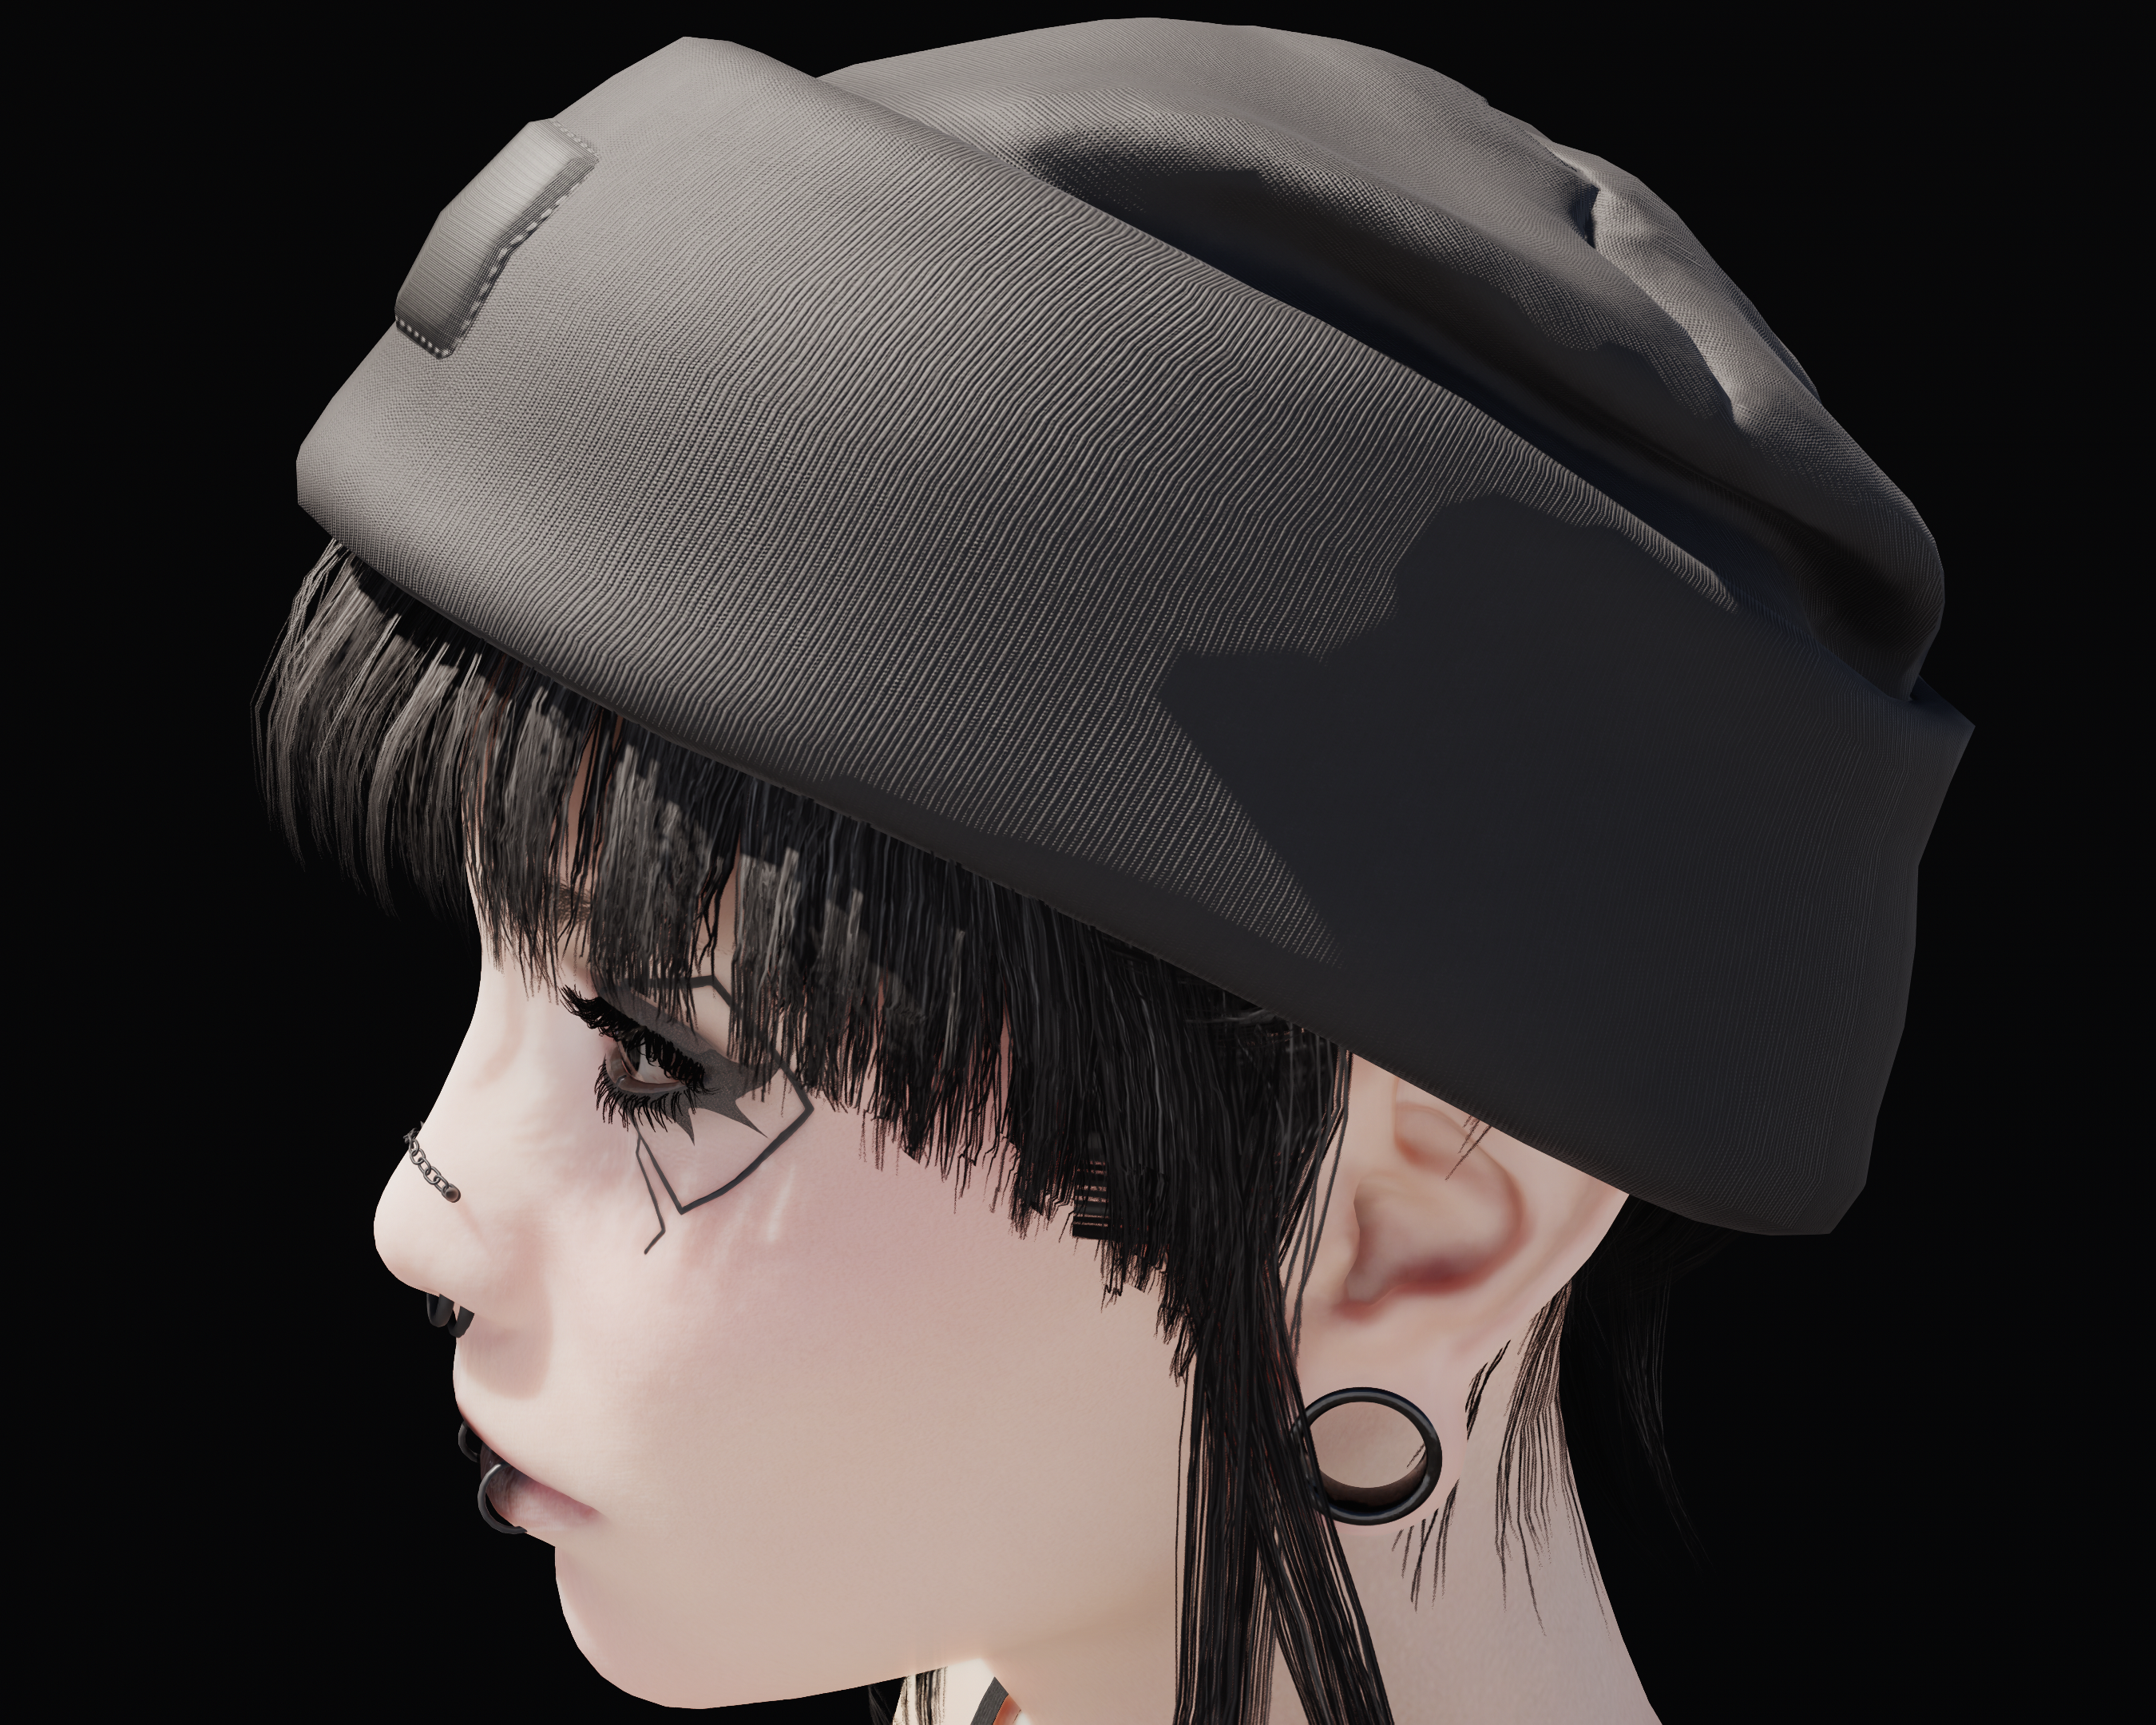
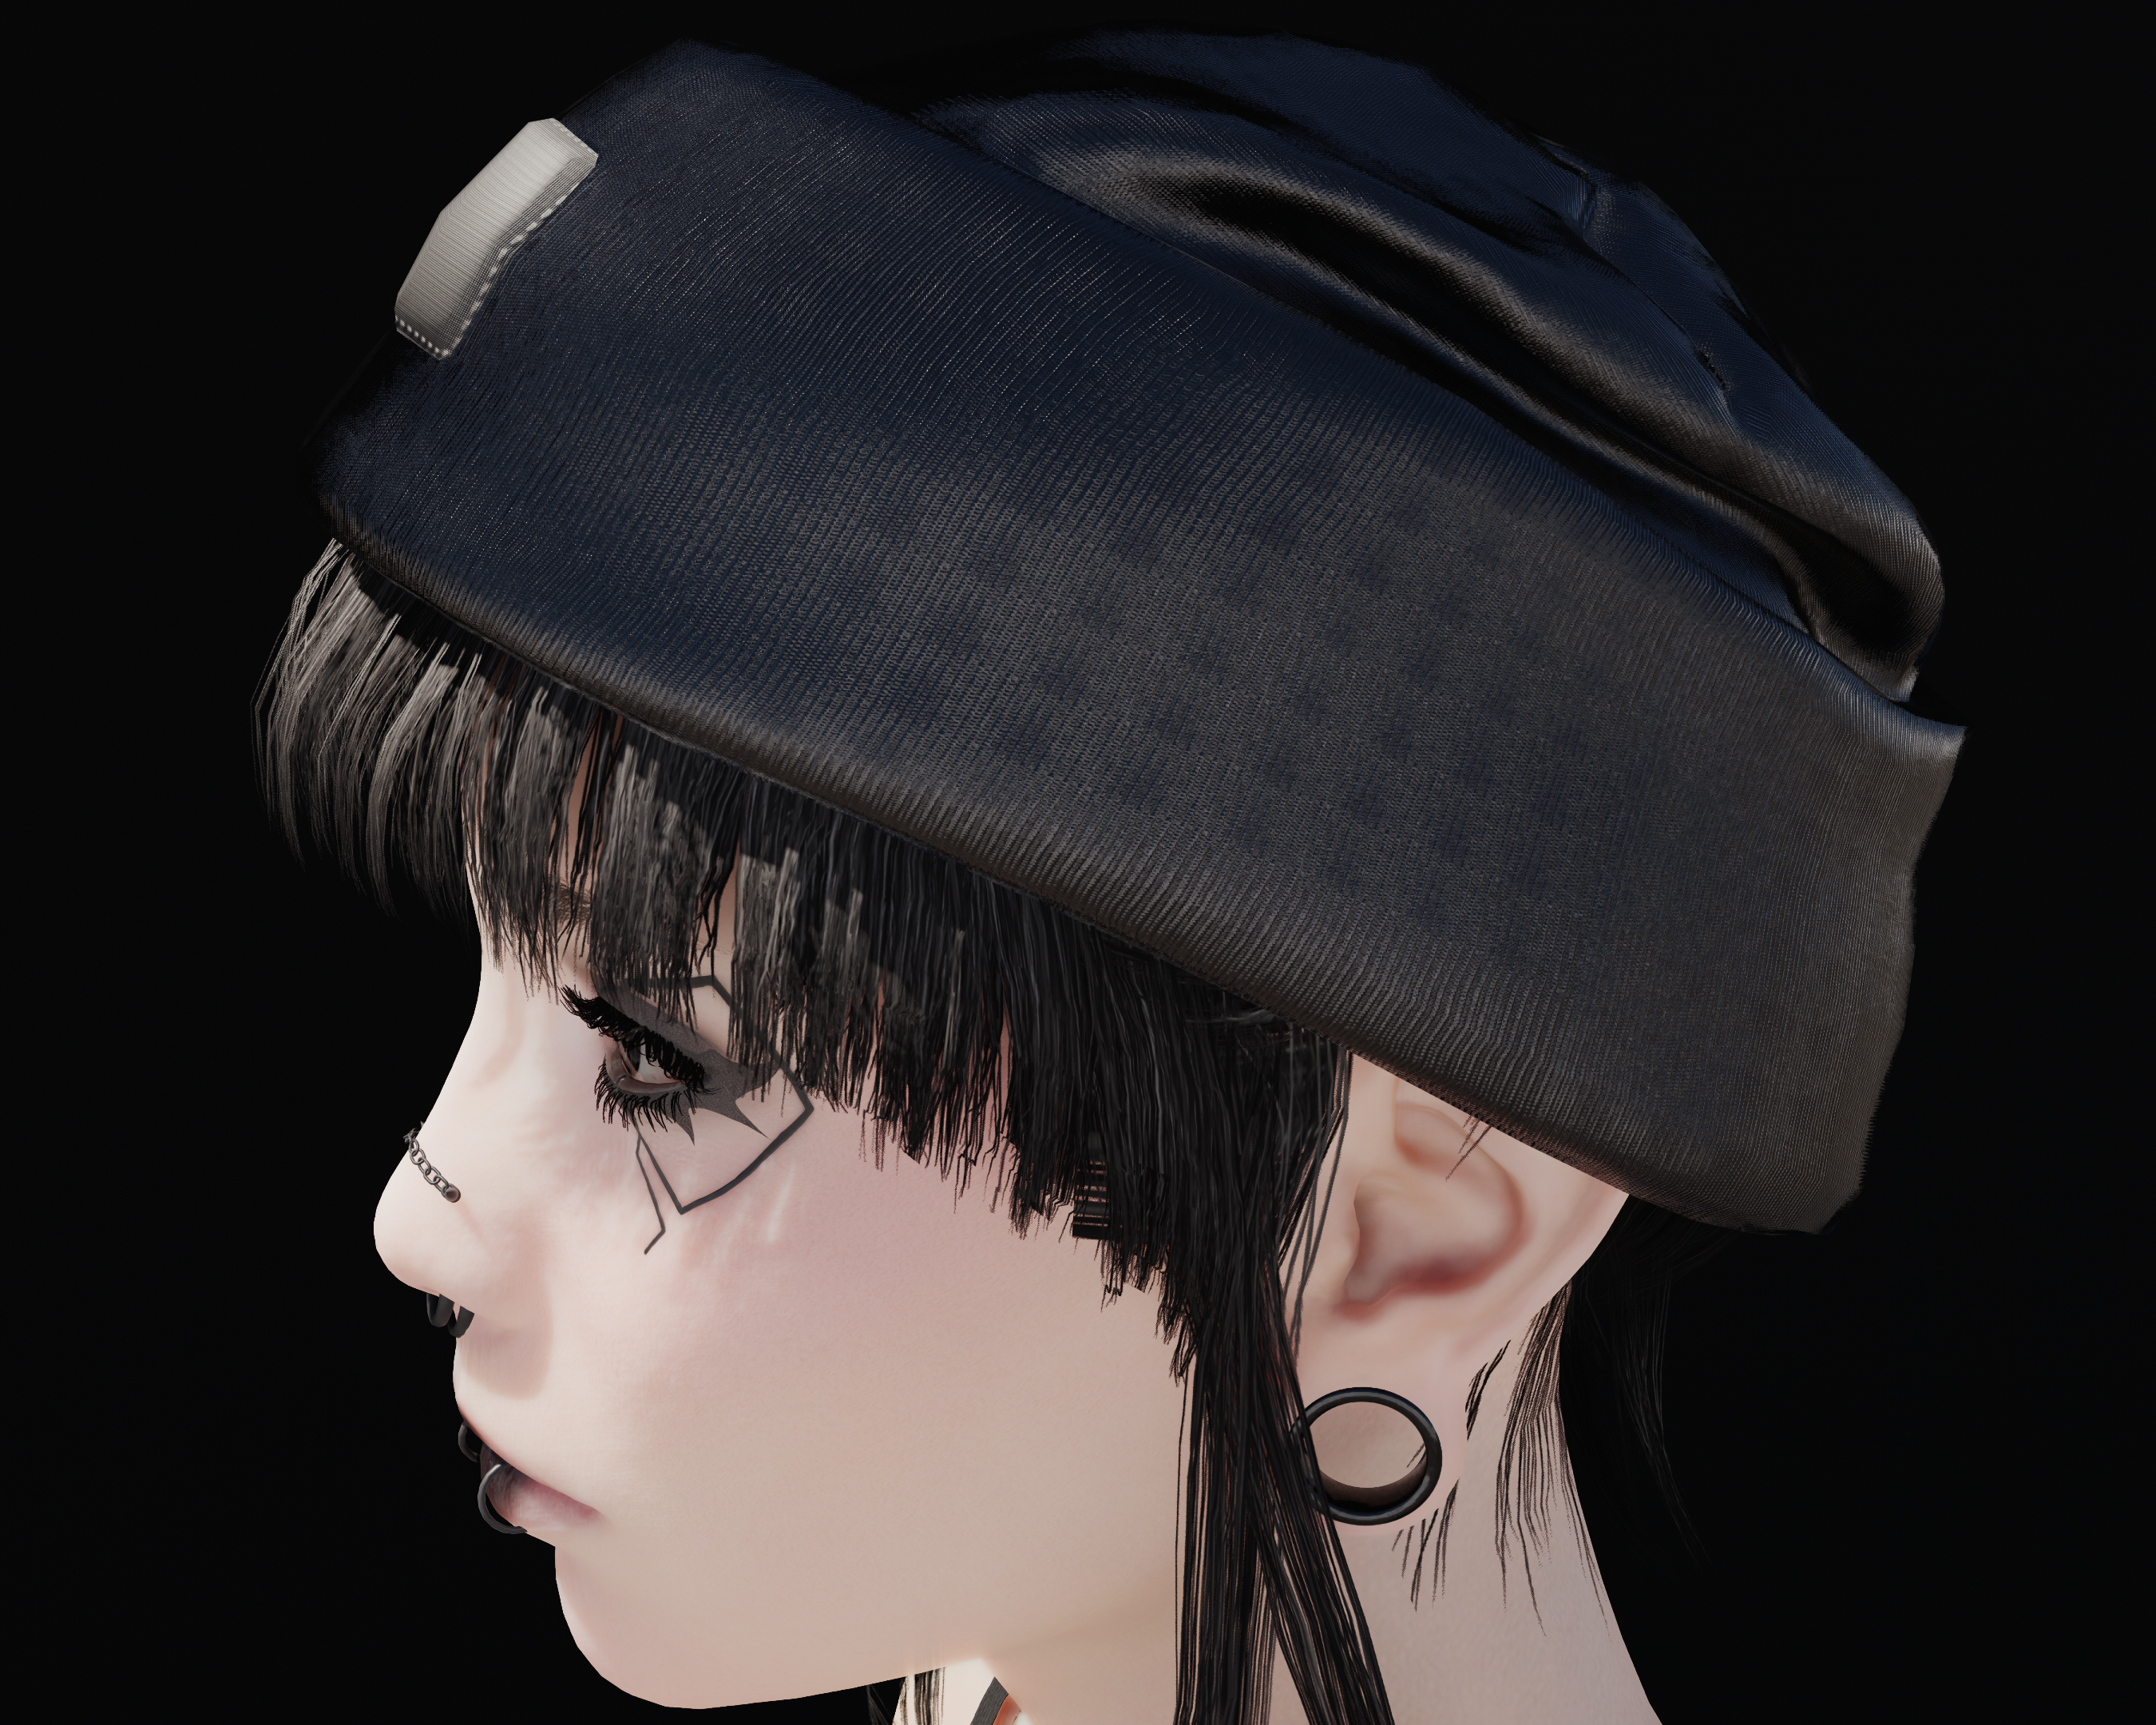
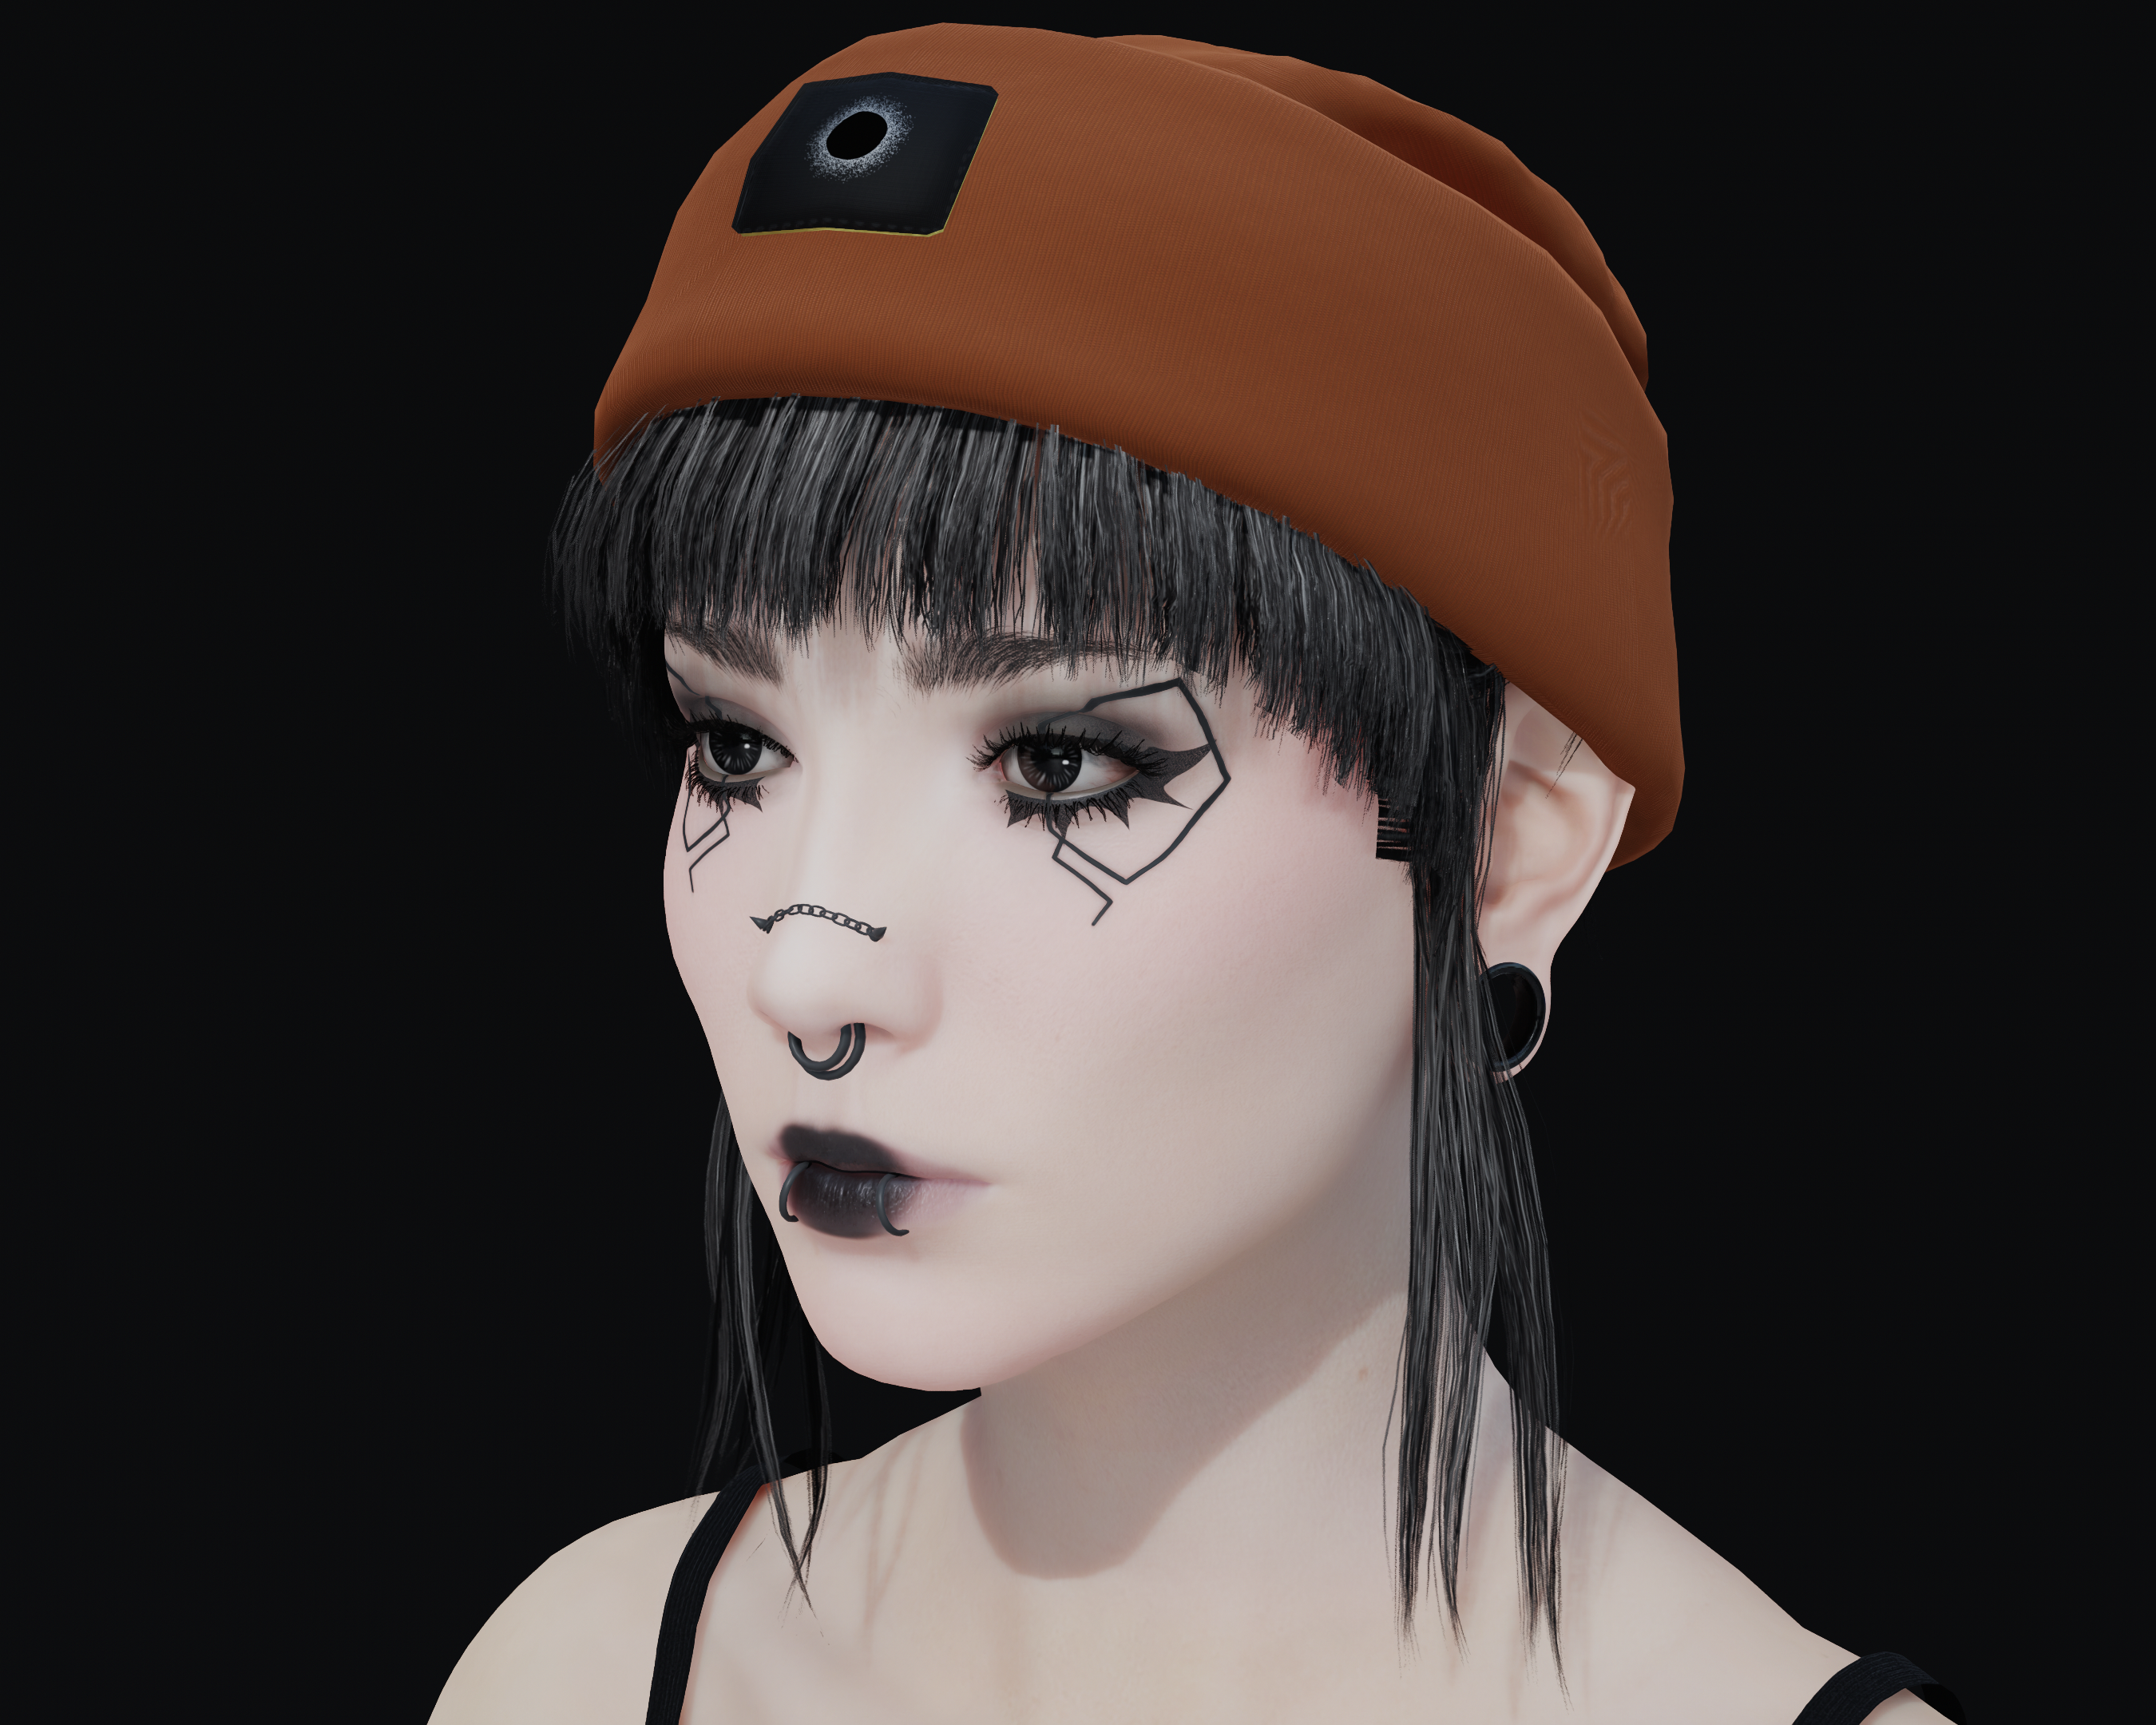
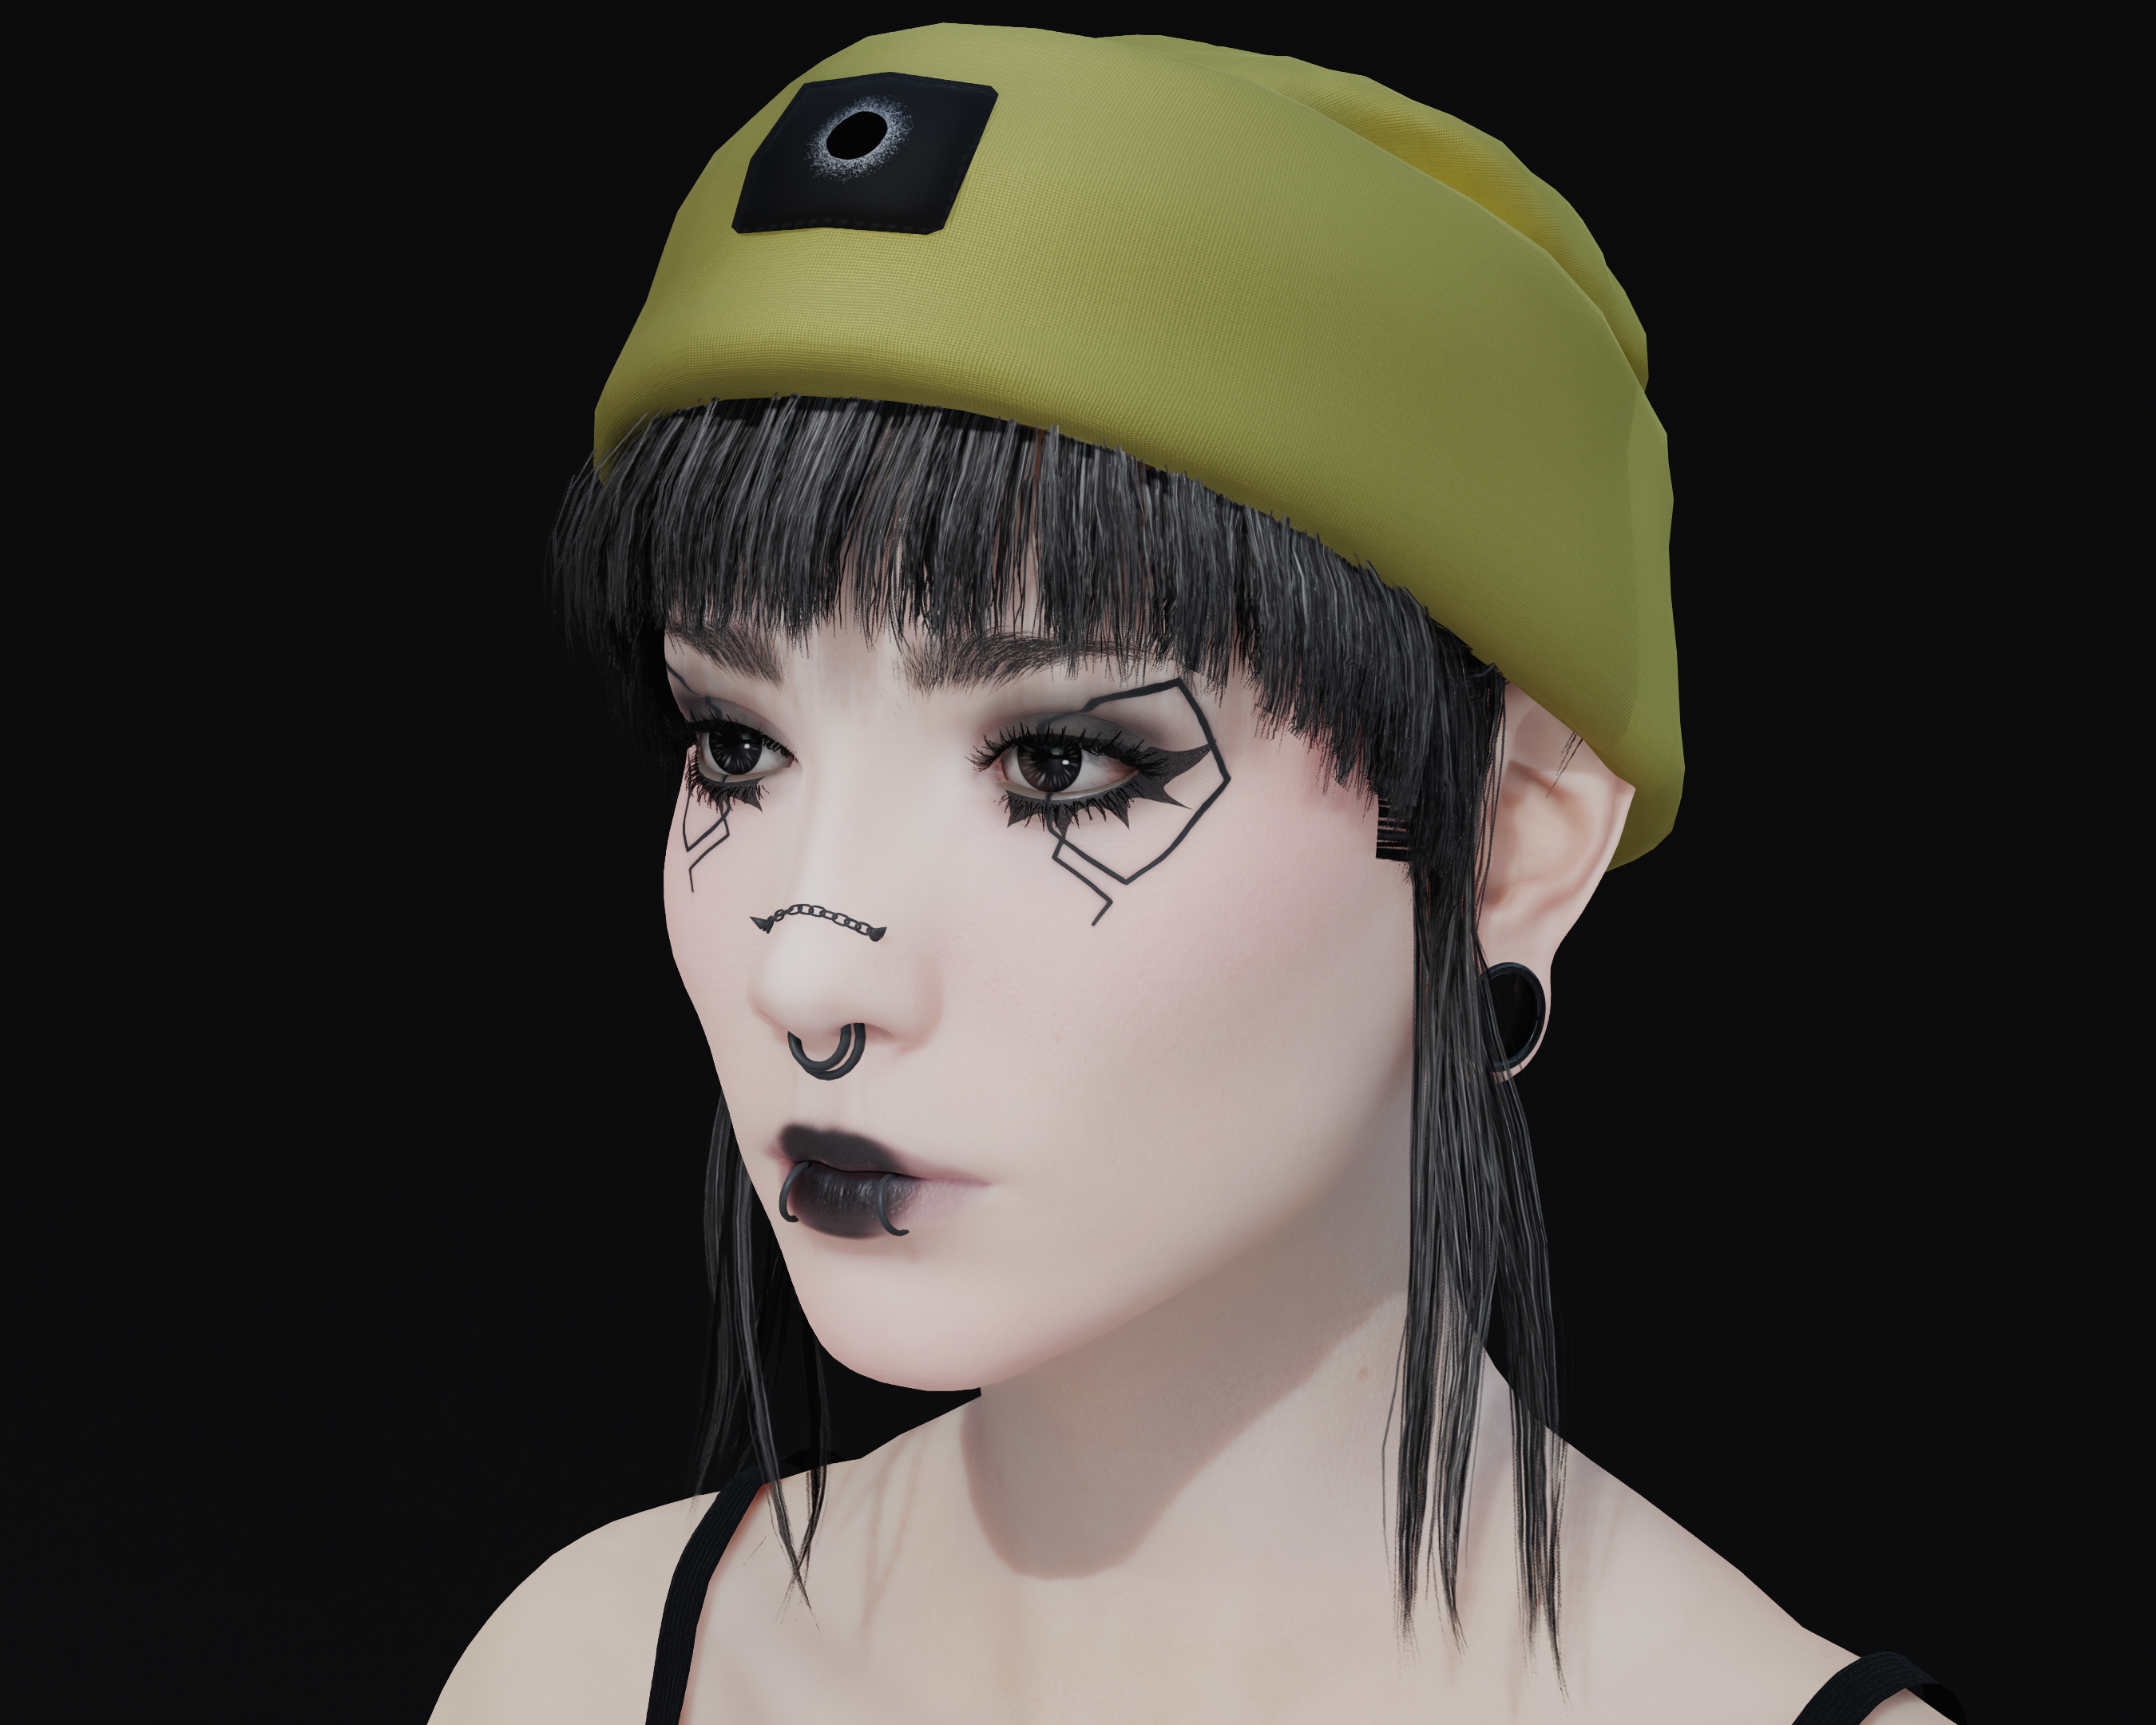
For a specific example, we'll try to get yellow to look nice as I find yellow to be one of the more finicky colours to get to look "correct" within Cyberpunks shader. Here, I'm using velvet_clean_01_30 with rgb(77%,22%,8%) as the base and latex_neon_01_30 with rgb(100%,100%,0%) on top of it. By itself,velvet_clean_01_30 lacks saturation and its selection of yellows is very limited. latex_neon_01_30 on the other hand includes a pretty decent shade of yellow, but also lacks saturation—even though the name implies the opposite. I find that Cyberpunks shader often renders yellows to be more green than I'd expect them to be. Which is why I'm using an orange base layer.

velvet_clean_01_30 by itself
latex_neon_01_30 by itself
together

The Texture

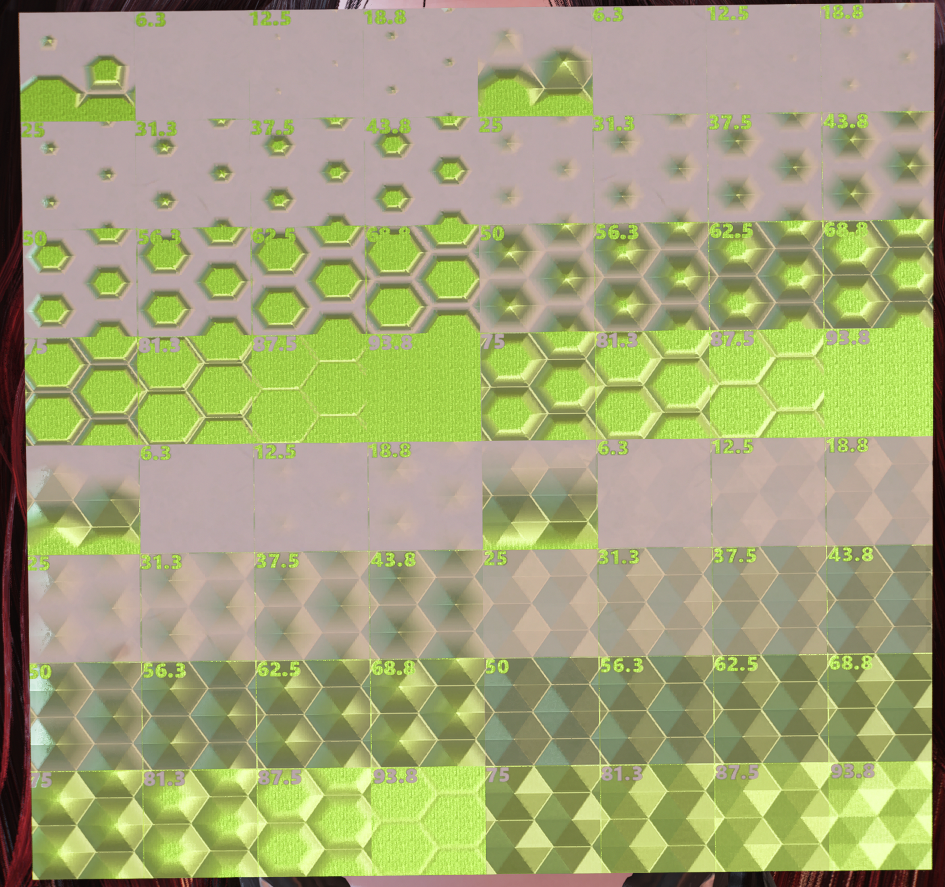
This method of layering materials unfortunately drastically reduces the effect of the normals of each material. normals become "filled in" the more of them you stack. A workaround is to mis-appropriate a materials normals as a microblend for another material.

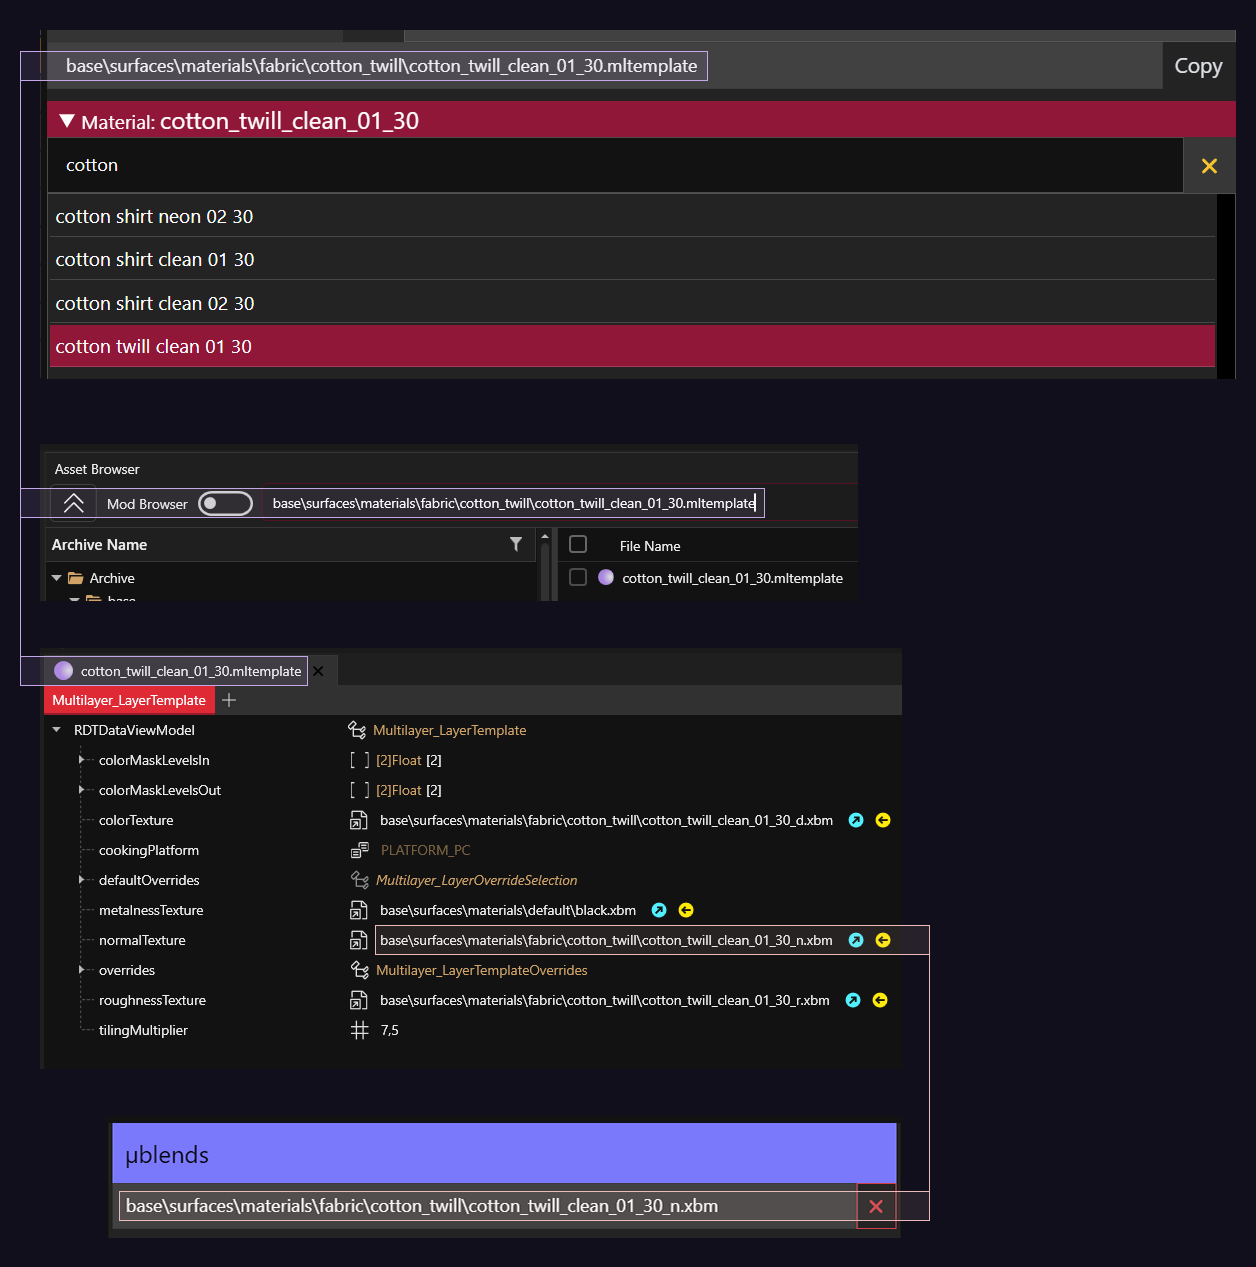
  1. Copy the path of the .mltemplate of a material whose texture you want to use from MLSB.

  2. Paste the path into WolvenKits Asset Browser and hit Enter to search.

  3. Right click on the .mltemplate and select "Open without adding to project".

  4. Copy the DepotPath of the normalTexture and paste it into the µblends field in MLSB.

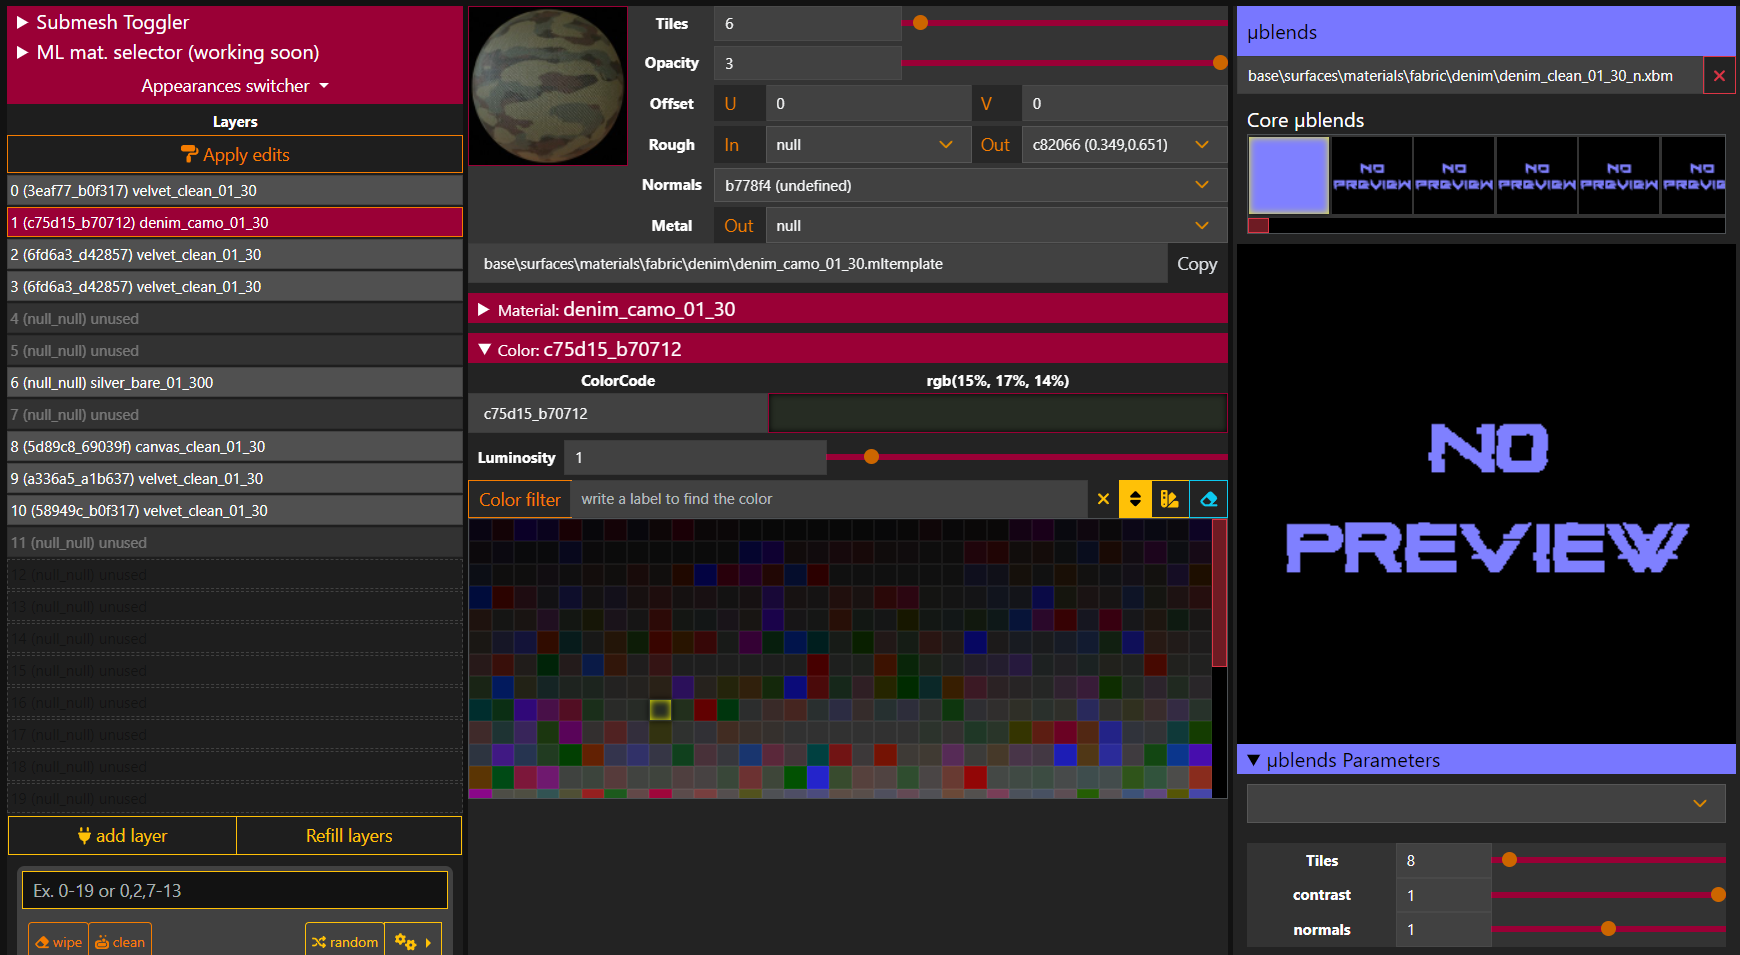
  5. In the µblends Parameters box, you can mess around with its size (Tiles, higher number means smaller texture—it gets tiled more often across the same surface area), opacity (contrast) and intensity (normals, can be higher than 1).

normals of µblends can also be inverted by setting their intensity to a negative number. this will, for example, turn a relief from pointing outwards to pointing inwards. This is sometimes necessary when using the normals from an mltemplate as a µblend, but creative choice takes precendence, of course.

µblend normals at 1.0
µblend normals at -1.0

The Opacity

Cyberpunk allows layers in your mlsetup to exceed Opacity 1.0. What this does is amplify your current layer. This is very useful for camouflage materials such as denim_camo_01_30. This material looks faint and lacks saturation by default. This can be mitigated by setting the Opacity to 3.0. For denim_camo_01_30 I'd also recommend using olive green as the base colour for your camo layer in the mlsetup.

↓ Green base, opacity 3.0
↓ Green base, opacity 1.0

↓ Grey base, opacity 3.0

↓ Grey base, opacity 1.0

The Shininess

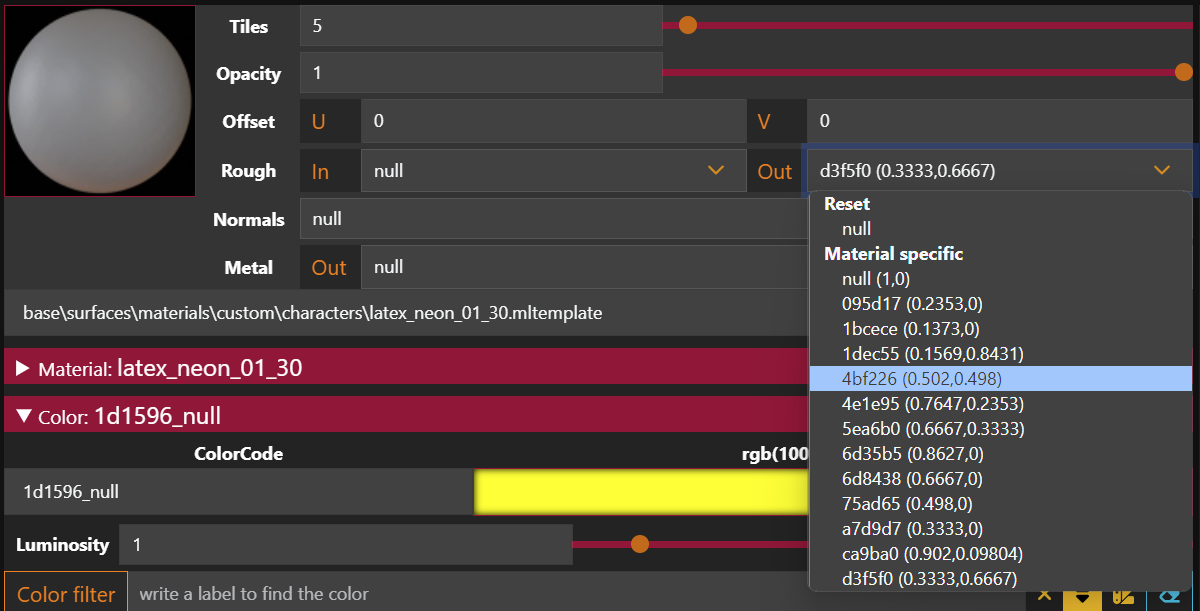
This tutorial won't go into the technical details of how reflections and roughness work (mainly because I don't get it myself), but for more information, see here. Shininess is mainly controlled through the Rough Out value in MLSB. The dropdown contains a list of properties inherent to each material.

If you want your material to be matte, pick a value where the two numbers are roughly equal. For velvet_clean_01_30 this would be 0.502,0.498. This might end up looking a bit flat though. An alternative with more depth would be 0.1569,0.8431.

velvet_clean_01_30 @ 0.502,0.498
velvet_clean_01_30 @ 0.1569,0.8431

If you want your material to be very shiny, pick a value where the first number is low, and the second is zero.

Confusingly, the opposite might be true, as well. In the following example, 0.6667,0.3333 is shinier than 0.3333,0.6667. It's quite illustrative of the interaction between the two numbers because they're the exact opposites.

velvet_clean_01_30 @ 0.6667,0.3333
velvet_clean_01_30 @ 0.3333,0.6667

The Versatility

Most of my mlsetups bascially exclusively contain layers of velvet_clean_01_30 or a similar cloth material with different µblends. Exceptions are latex_neon_01_30 for anything yellow as described above, and any metals. Although you can colourise those with an additional layer of velvet_clean_01_30.

Item
MLSB Screenshot

The Outro

Once you've found material-colour-texture-shininess combinations you like, I'd recommend writing them down somehwere to be re-used across your mods. Good starting points for base materials are velvet_clean_01_30, spandex_clean_01_30, and nylon_metallic_01_30. All of these are very versatile because they offer a broad range of colours and levels of shininess. The first two of those also work very well as materials to be used on the top layer. canvas_clean_01_30 and denim_clean_01_30 have lovely textures. For reference, this page contains previews for all materials available in Cyberpunks shader. There's also a downloadable .zip in there which is useful to keep on hand when you're messing with materials.

If you create your own material combinations, expect a lot of trial and error and bring a lot of patience.

The Addendum

To quickly check how your changes look in-game, you can use Red Hot Tools.

  1. Create an outfit using your item, save it with Equipment-EX and un-equip it

  2. Enter Photo Mode, Alt + Tab over to MLSB, and make some changes.

  3. Export the .json and import the .mlsetup in WolvenKit. Click on "Hot Reload" in the toolbar.

  4. Switch back to the game and, while still in Photo Mode, switch to your saved outfit.

  5. Your changes should show up on your item. Switch back to no outfit again, make more changes in MLSB, export, import, Hot Reload, rinse and repeat.

Last updated